Files that you upload to a channel are kept in the SharePoint folder for your team. The Files tab is located at the top of each channel and contains these files. Any files you add to a private or group chat are kept in your OneDrive for Business folder and only those involved in the conversation can access them.

The key functionality in the files tab in your channel in Microsoft Teams is SYNC, which you can use to sync files from Microsoft Teams with OneDrive on your PC and vice versa.
In this post, we’re gonna demonstrate How to sync Microsoft Teams files to your PC with OneDrive.
Sync files from Microsoft Teams to your PC
In some cases, you might occasionally need to sync files from your Team channel to your PC to increase your flexibility for contributing files to Microsoft Teams without having to open the Microsoft Teams Client App.
Therefore, you have to follow the steps listed below to effortlessly sync files from Microsoft Teams to OneDrive on your PC:
Steps
- Open Microsoft Teams.
- Click on your Teams, then click on the “Channel” that you need to sync its files.
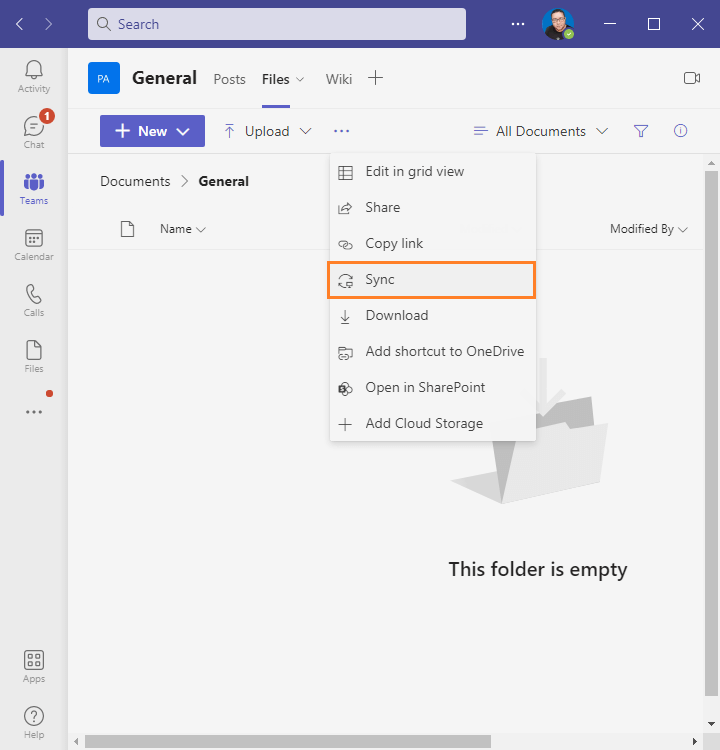
- Click on the “Files” Tab, then from the Channel toolbar, and click on Sync as shown below.

- Once you click on the “Sync” button, you will get the below message that informs you that you have to install the latest Onedrive version to can sync files from Microsoft Teams.
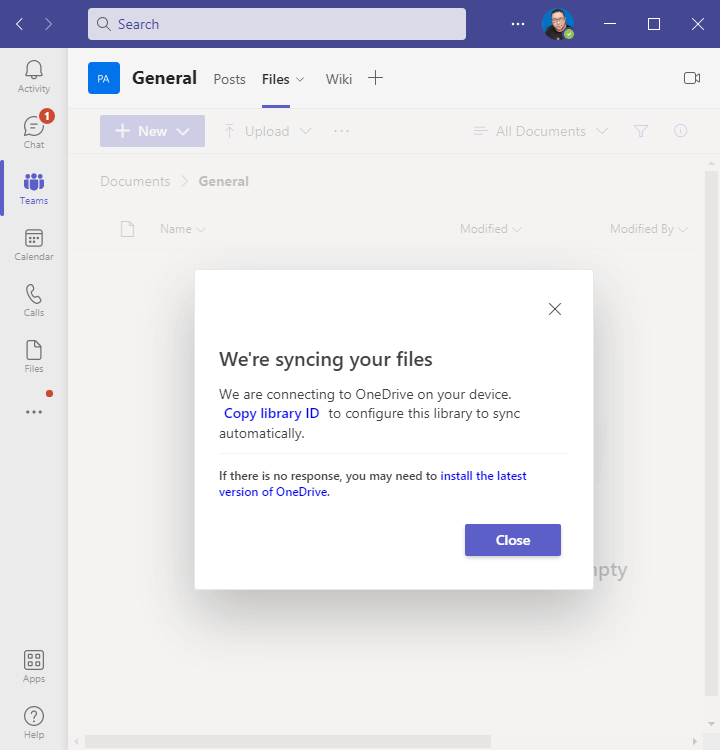
- If you don’t have installed the latest version of OneDrive, Click on the installation link on the above screen to install it.
- If you already installed OneDrive on your PC, the OneDrive wizard will be opened to configure it. (It might require some time to launch.).
- When Microsoft OneDrive is opened, you will be prompted to sign in or, if you don’t already have one, to create a new one.
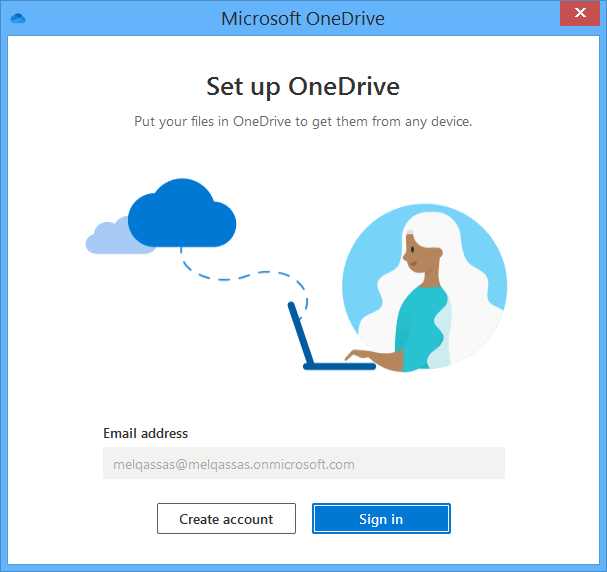
- Click on “Sign in” button, and provide your credential.
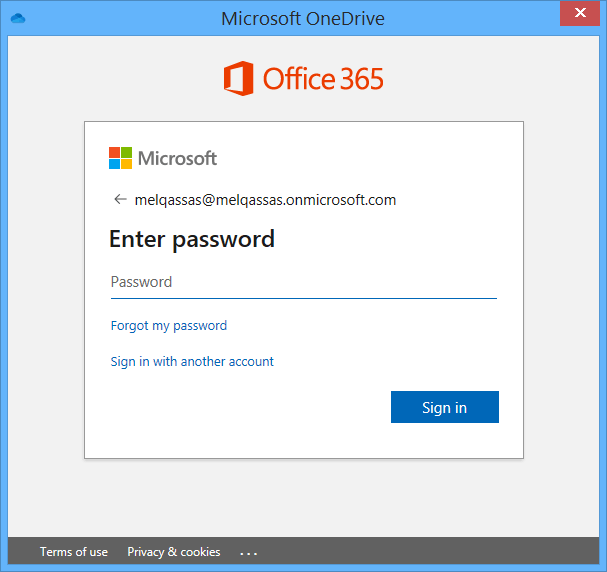
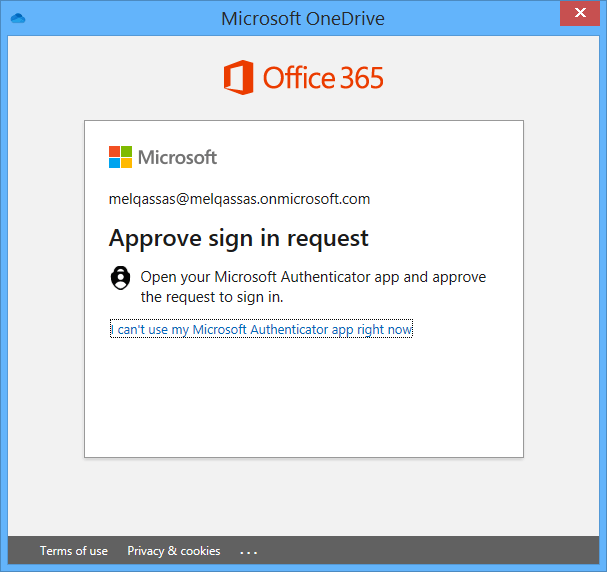
- Using Microsoft Authenticator, Approve your request if needed!
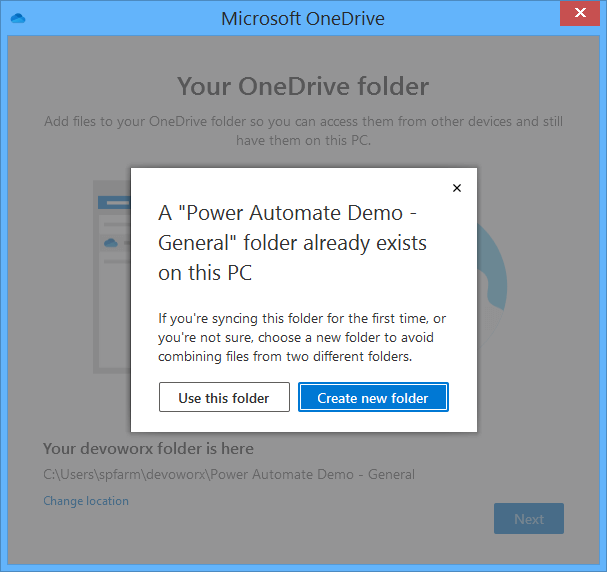
- Now, you will get the Folder Path named as your Microsoft Team Channel,
- And you can change this location as you prefer by clicking on “Change Folder” to create a new folder or use the current one.
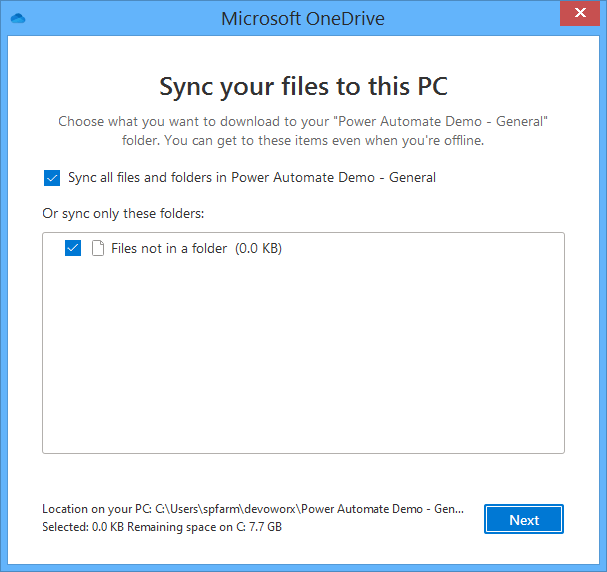
- When clicking “Next“, you will get another window to sync all files or specific folders as shown below.
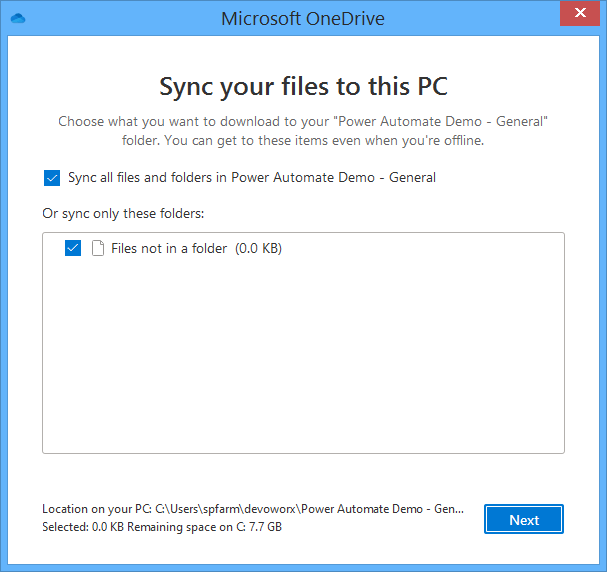
- Now, click on the “Next” button to continue and complete your wizard.
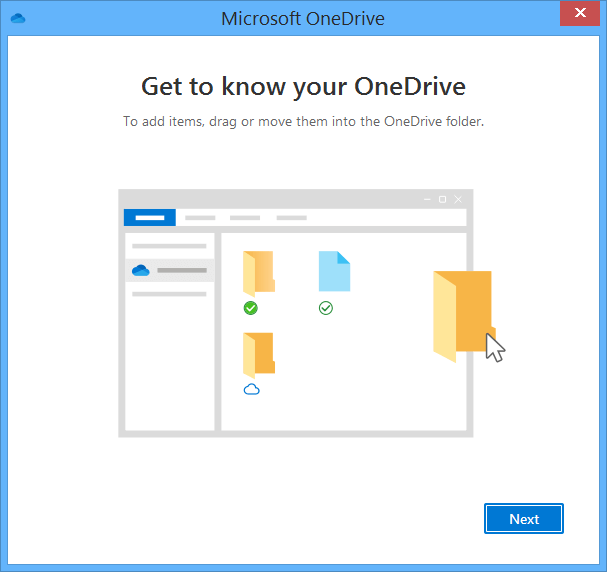
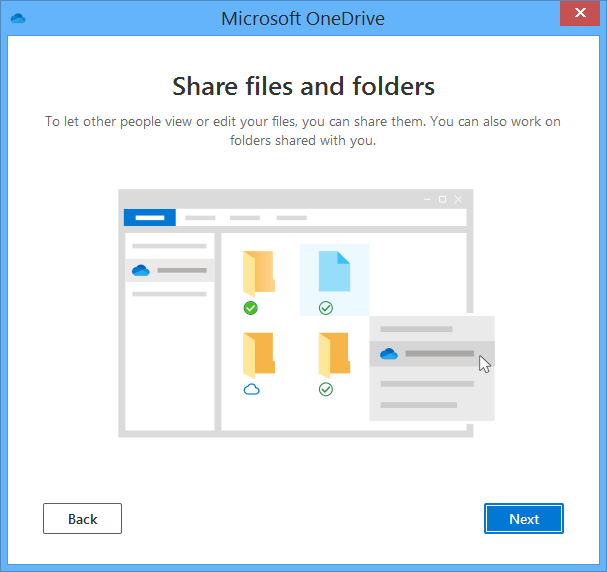
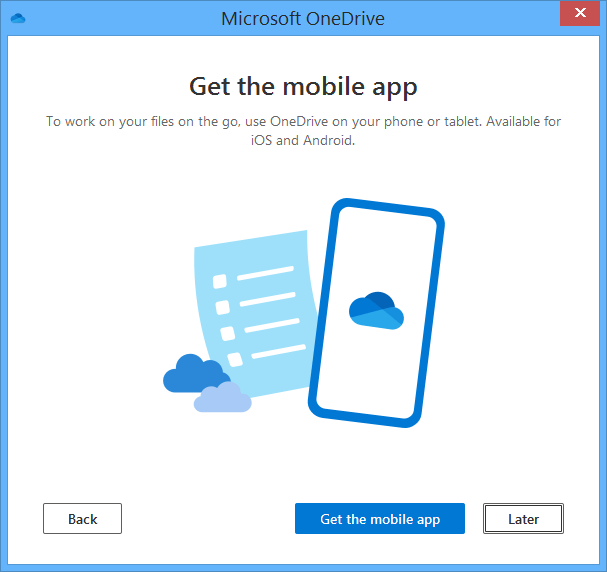
- Now, you can open the synced folder on your PC by clicking on “Open My OneDrive Folder“.

Sync files from your PC to Microsoft Teams Channel
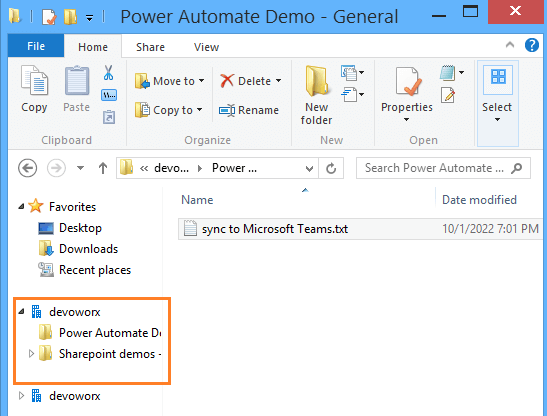
Once you have configured the Sync option in Microsoft Teams, you can now add files in “Microsoft Teams Channel > File Tabs > Sync“, and get your files on your PC and Viceversa.
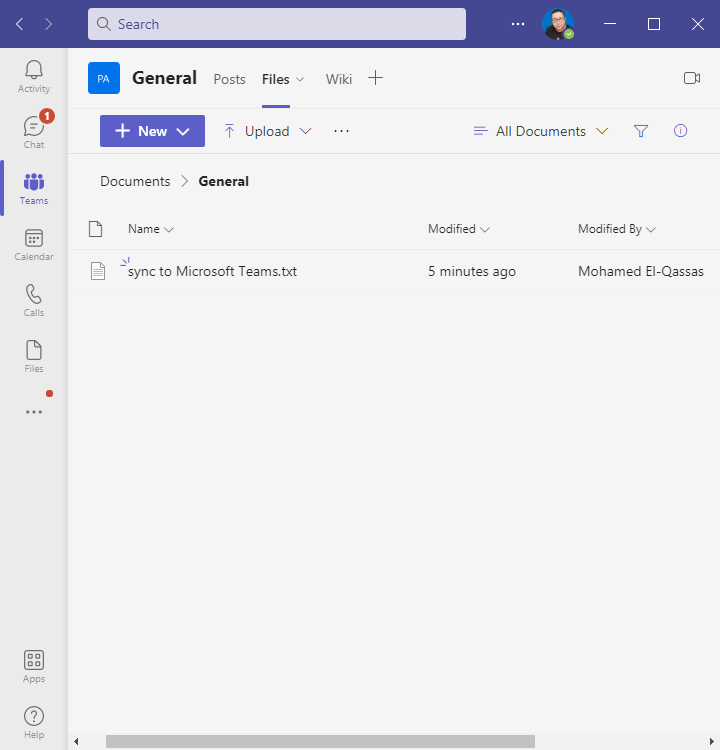
You can also just drag and drop your files into your PC’s synchronized folder easily.
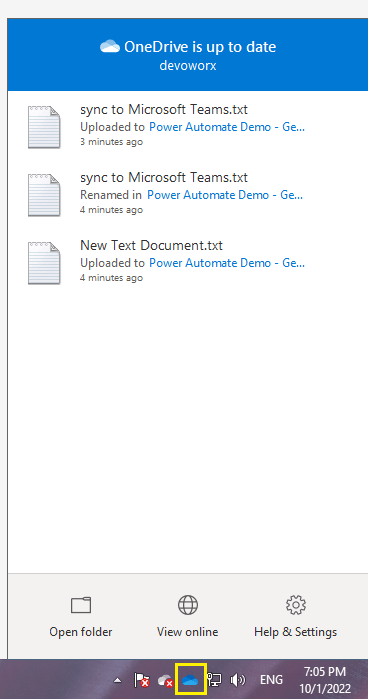
Additionally, the OneDrive symbol next to the PC o’clock, as displayed below, allows you to view the status of your files as they are being uploaded to Microsoft Teams from your PC.
Conclusion
To check your Microsoft Teams channel files without having to enter into the Microsoft Teams App, you can effortlessly sync your folders and files from Microsoft Teams to your PC through OneDrive.
The Sync Option in Microsoft Teams enables you to
- Sync files from Microsoft Teams to the OneDrive folder on your PC.
- Sync Files from the OneDrive folder on your PC to Microsoft Teams.
Therefore, in this post, we have attempted to walk you through each step of configuring the Sync option in Microsoft Teams so that the files from Microsoft Teams can be synced to OneDrive on your PC.
See Also

