In this post, we will explain how to install SQL Server 2012 Step by Step.
You might also like to read How to install SQL Server 2019 Developer Edition
Install SQL Server 2012
Before you decide to install SQL Server 2012, you should first make sure that the target servers meet the necessary hardware and software requirements for SQL Server 2012 Setup to be completed.
Hardware Requirements
| Component | Requirement |
|---|---|
| Memory[1] | Minimum:Express Editions: 512 MBAll other editions: 1 GBRecommended:Express Editions: 1 GBAll other editions: At least 4 GB and should be increased as database size increases to ensure optimal performance. |
| Processor Speed | Minimum:x86 Processor: 1.0 GHzx64 Processor: 1.4 GHzRecommended: 2.0 GHz or faster |
| Processor Type | x64 Processor: AMD Opteron, AMD Athlon 64, Intel Xeon with Intel EM64T support, Intel Pentium IV with EM64T supportx86 Processor: Pentium III-compatible processor or faster |
Software Requirements
The SQL Server 2012 Installation Wizard installs the following prerequisites (if they are not already present on the computer):
- .NET Framework 3.5 SP1.
- SQL Server Native Client.
- SQL Server support files.
Setup Requirements for an In-Place Upgrade
SQL Server 2012 Setup has important version-level requirements for upgrading instances of SQL Server 2005, 2008, and 2008 R2 in-place. The basic requirements are as follows:
- SQL Server 2005: SP4 is required.
- SQL Server 2008: SP2 is required.
- SQL Server 2008 R2: SP1 is required.
Note:
- If your production instance of SQL Server 2005/2008/2008 R2 is installed on Windows Server 2003, you must upgrade to a new server by using a side-by-side upgrade.
- SQL Server 2012 is not supported on Windows Server 2003 and an in-place upgrade is not possible.
Install SQL Server 2012 Step by Step
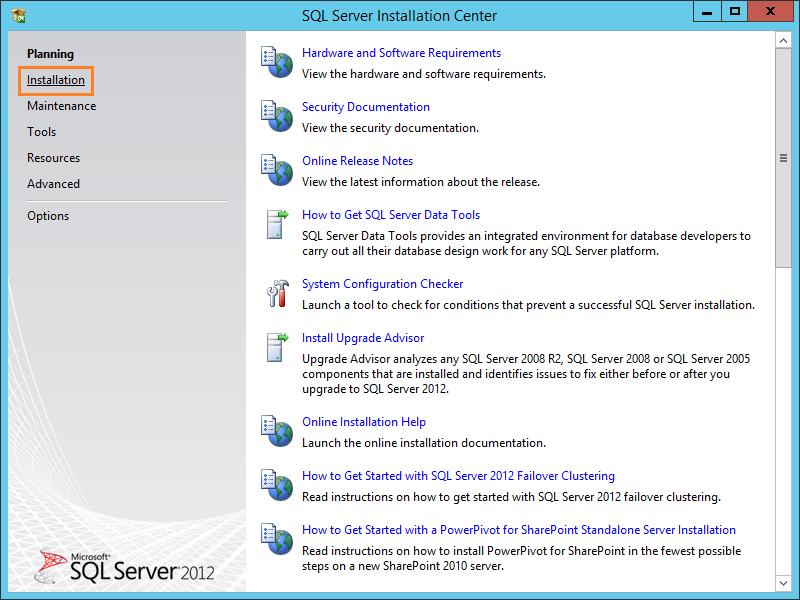
- Mount SQL Server Media ISO/CD -> Run SQL Server Installation file -> From SQL Server Installation Center –> Click on Installation.
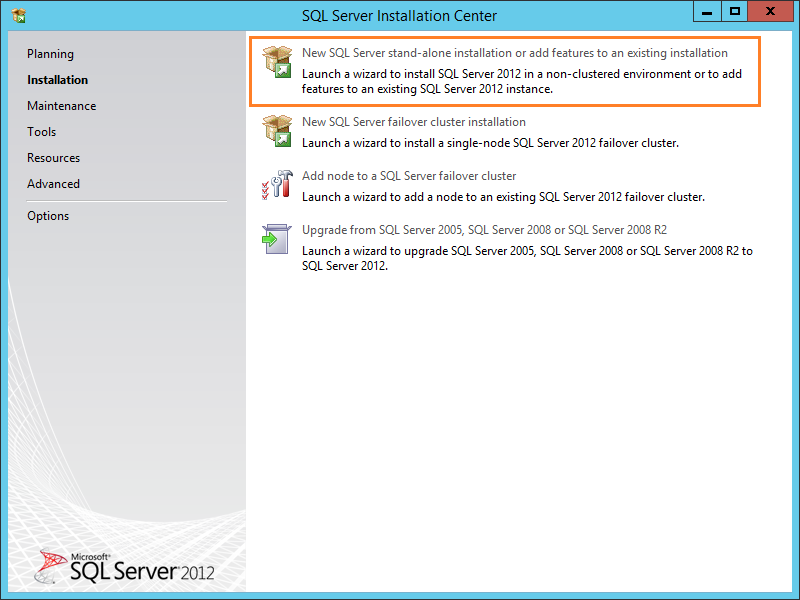
- Select the first option to add features to existing installation.
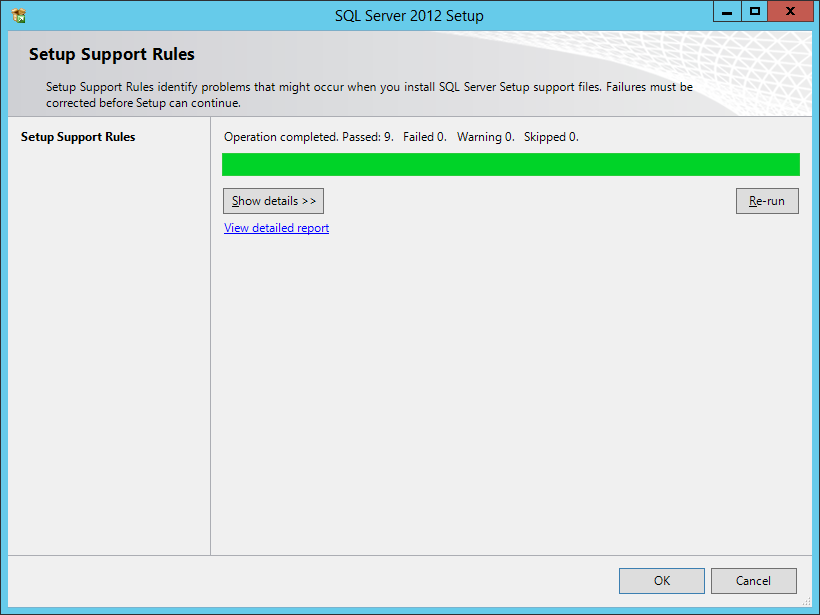
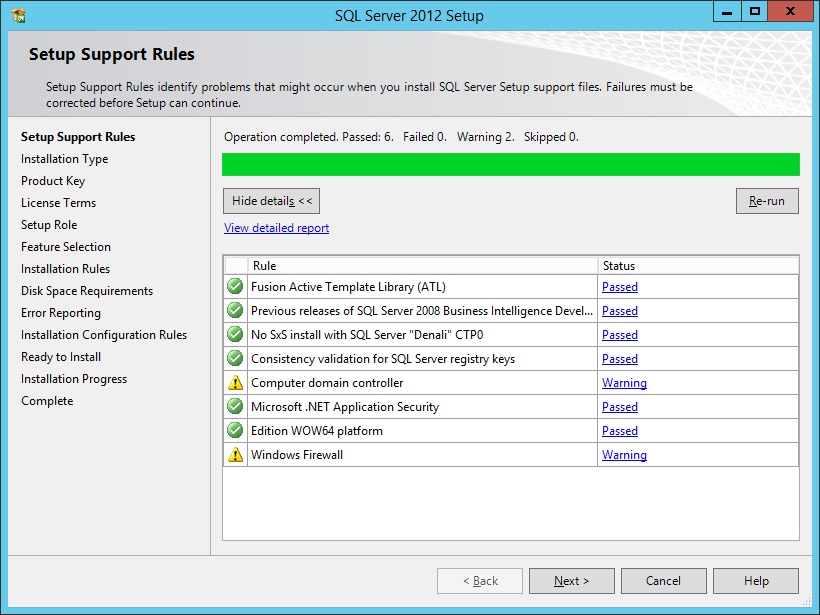
- Click OK after passed all Setup Support Rules.
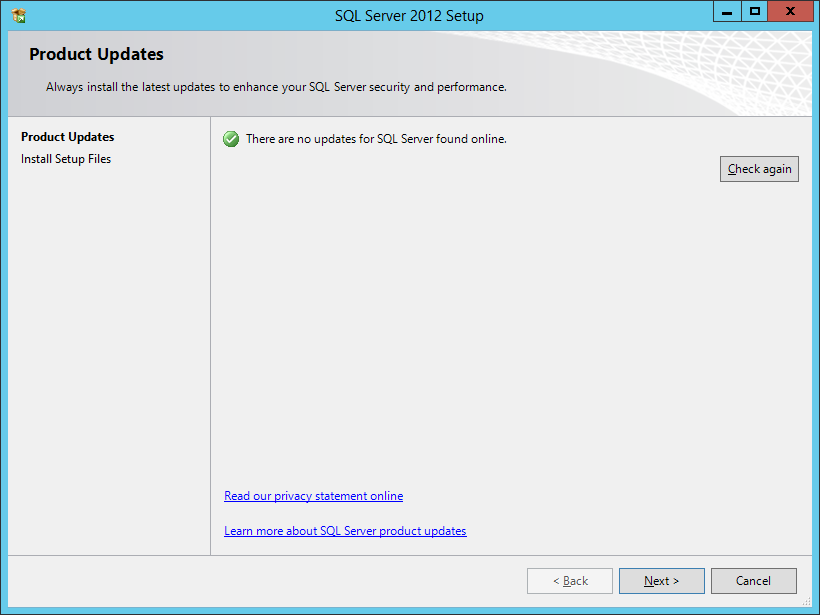
- Check Product Updates and click Next.
- Again,Check Setup Support Rules and click Next.
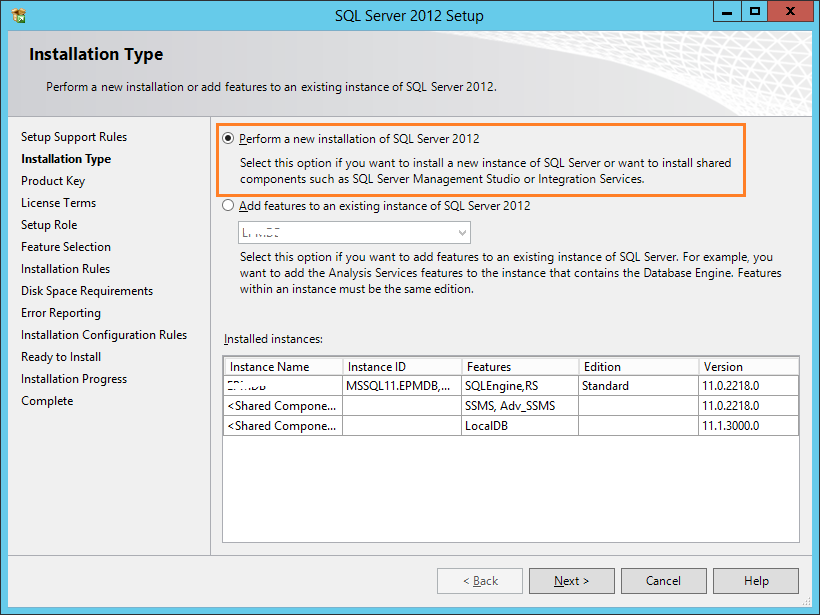
- From Installation Types –> Check Perform New Installation –> Next.
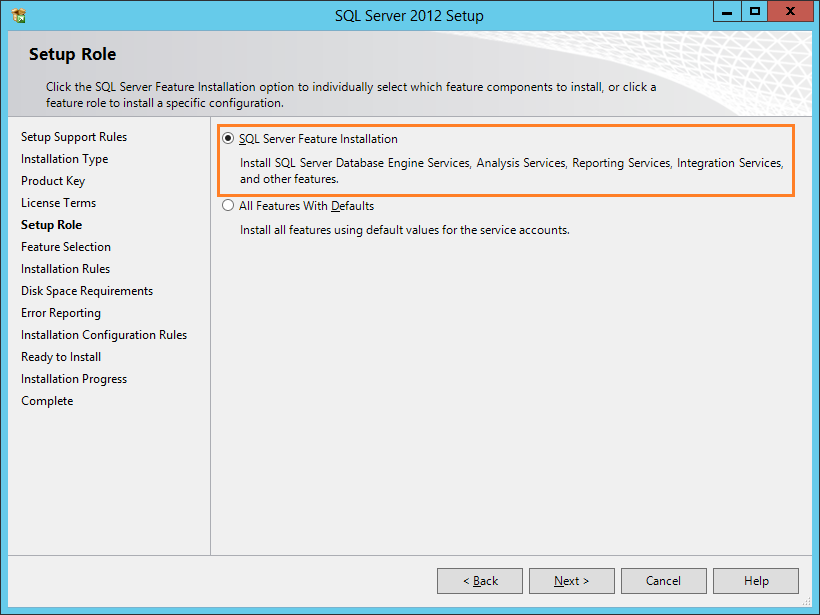
- From Setup Role –> Select SQL Server Feature Installation –> Next.
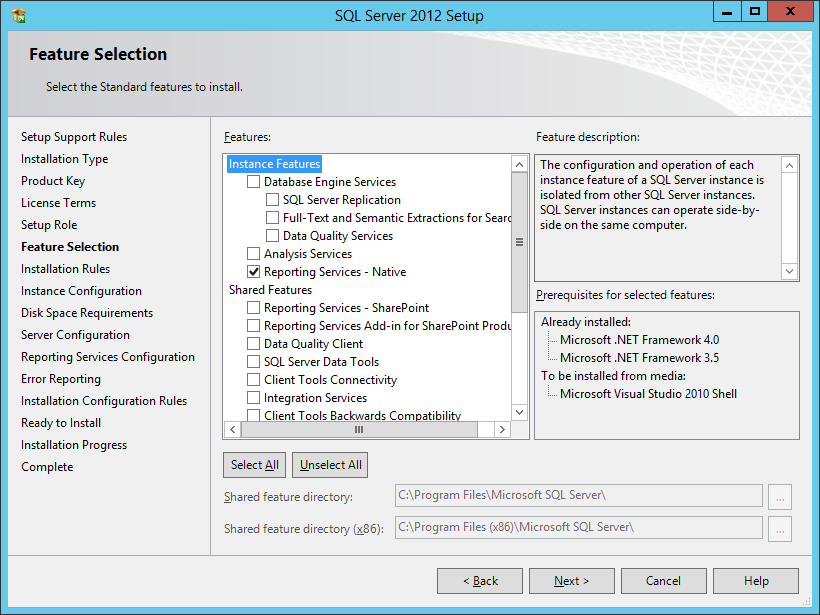
- From Feature Selection –> Below Instance Features –> Select
- Database Engine Services.
- Client Tools Connectivity.
- Management Tools – Basic.
- Reporting Service -Native. (Optional)
- Click Next.
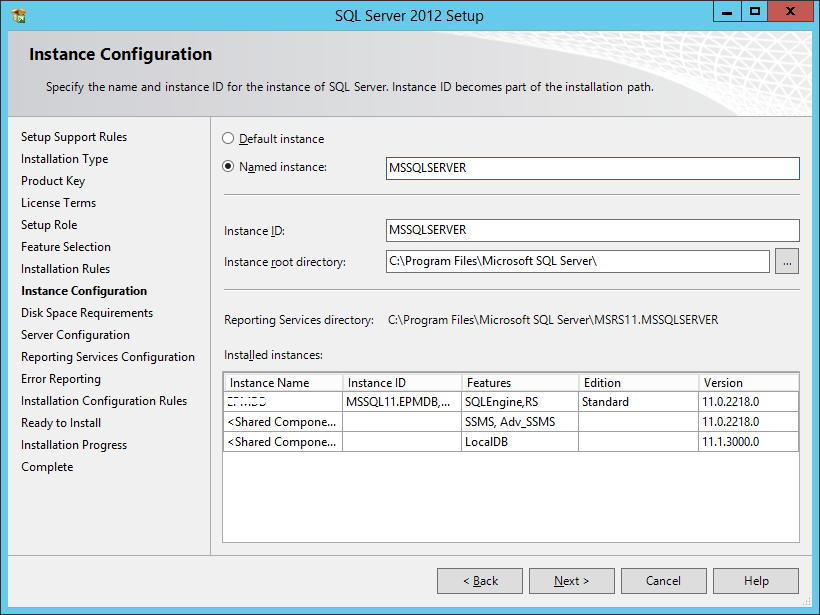
- Configure Instance by setting the instance name or leave default –> Next.
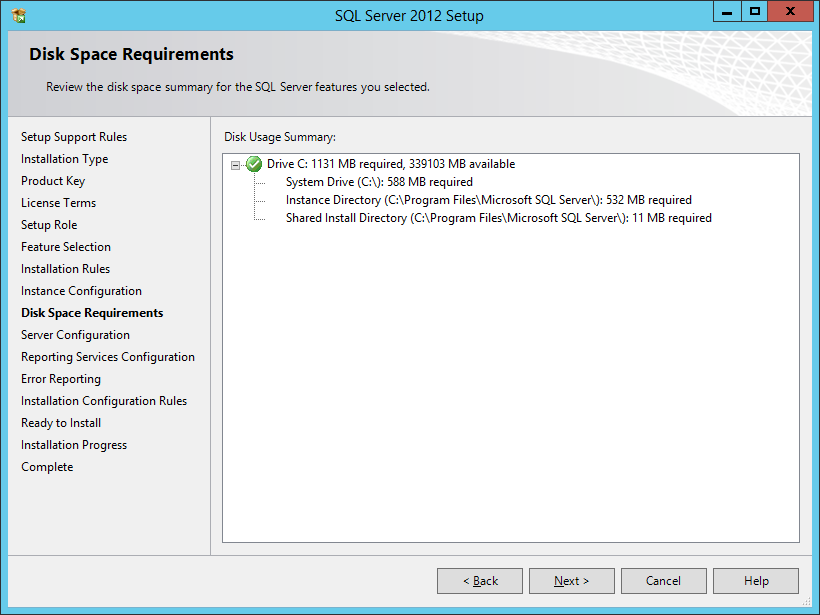
- Check Disk Space Requirement –> Next.
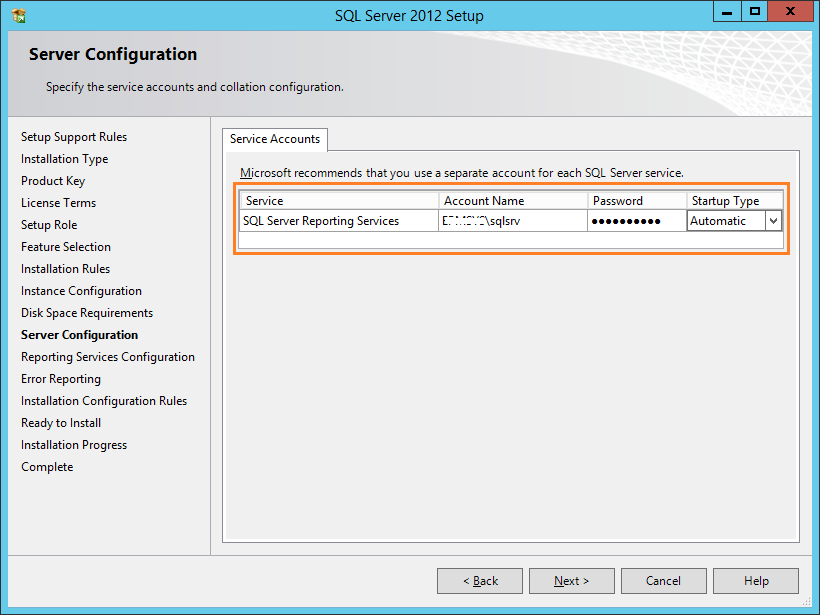
- In Server Configuration –> Set the Service Account –> Next.
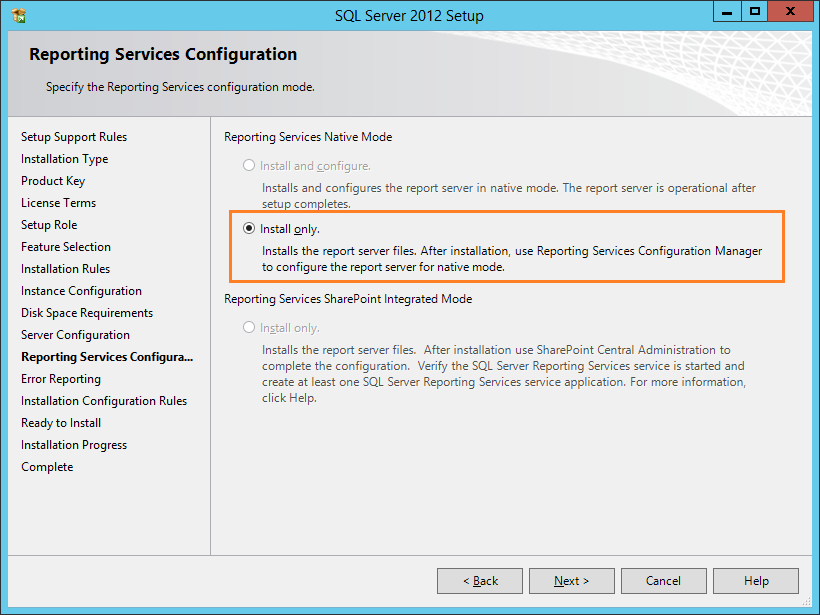
- In Reporting Service Configuration –> Check Install only.
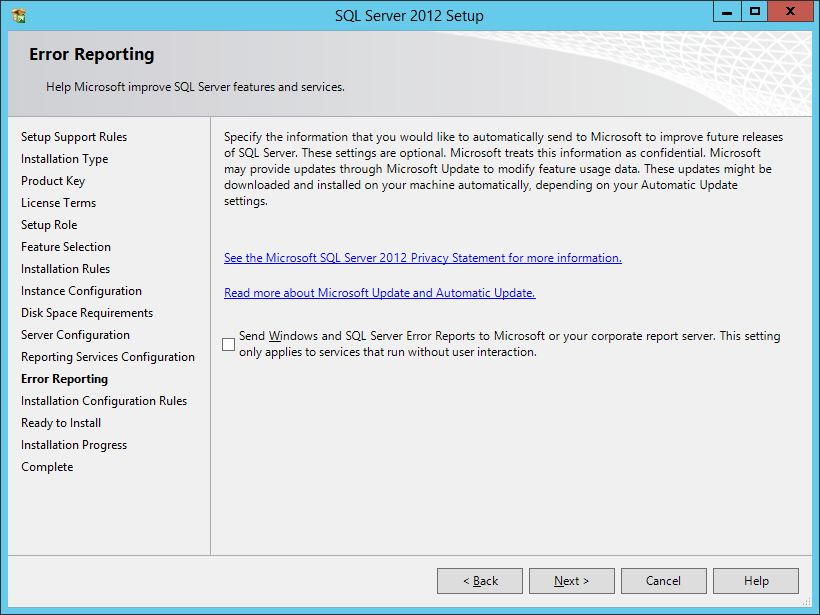
- In Error Reporting Click Next.
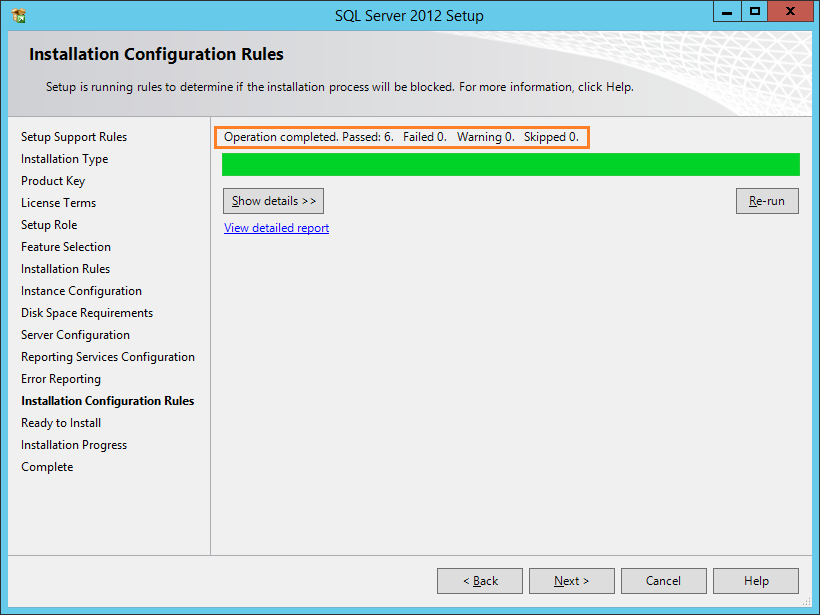
- In Installation Configuration Rules Check every thing is passed –> Next.
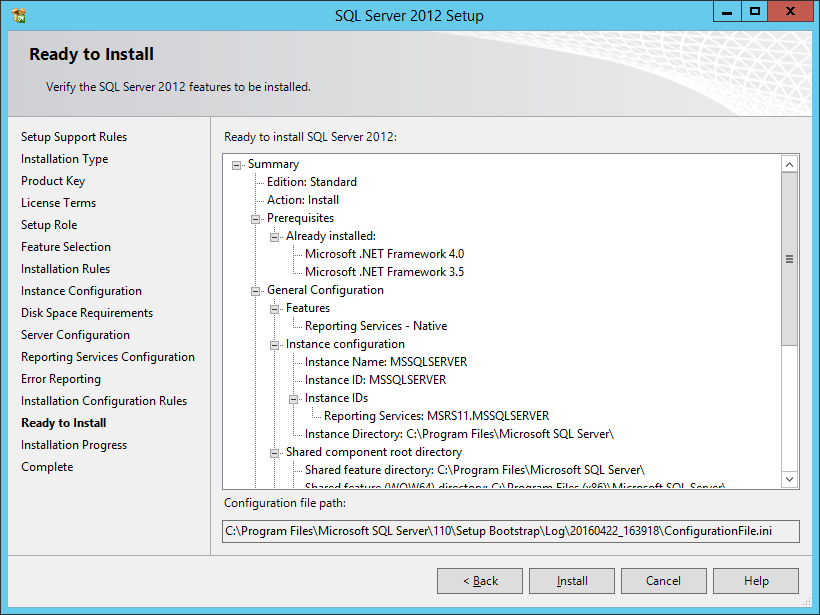
- In Ready to install –> Click on Install.
- Complete the installation wizard and click Finish.
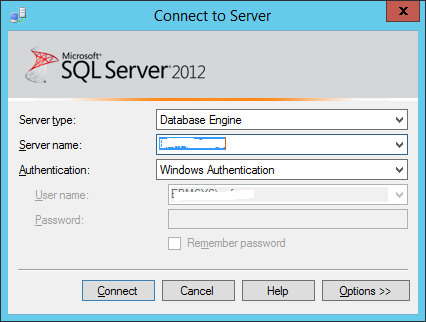
- Open SQL Management Studio.
- Connect to SQL Server using Windows Authentication or SQL Authentication.

Hello colleagues, how is the whole thing,
and what you want to say about this piece of writing, in my view its
actually amazing for me.
Good Information Mohamed