In this hint, I will explain how to use SharePoint Images Mapped Folder to add images to SharePoint Web Part in SharePoint Solution using Visual Studio.
You may also like to read Add Image URL inside a CSS file in SharePoint Visual Web Part.
Create Images Mapped Folder
- Open your solution in visual studio.
- Open “Solution Explorer”.
- Right-click on the project name.
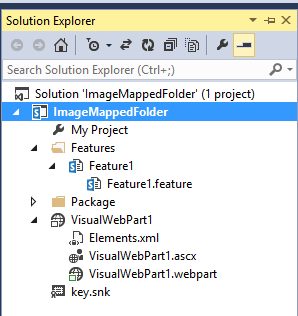
- Add a “SharePoint Images Mapped Folder”.
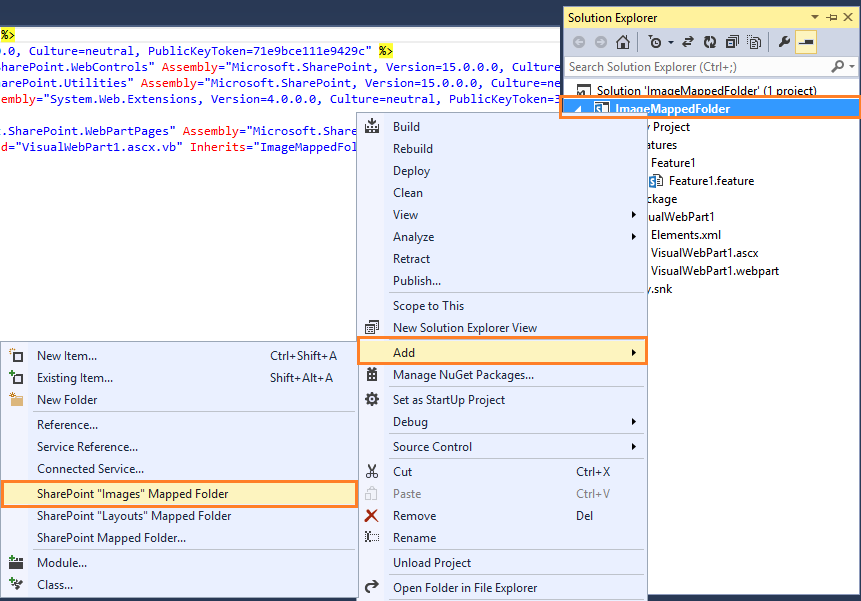
- A new “Images” folder will be added that holds a subfolder named as same as your project name.
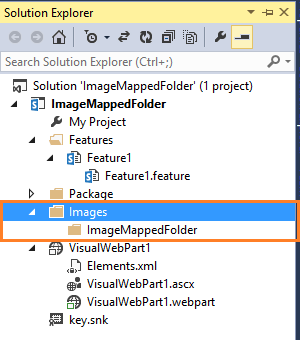
Upload your images to Images Mapped Folder
- Inside the subfolder > Add your images.
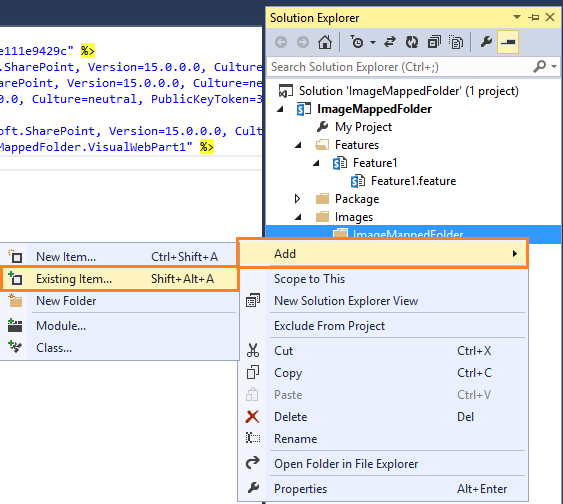
Insert Images in Visual Web Part user control
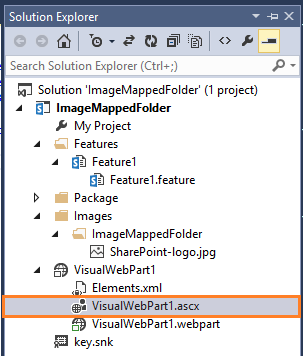
- Double click on Visual web part page “.ascx”.
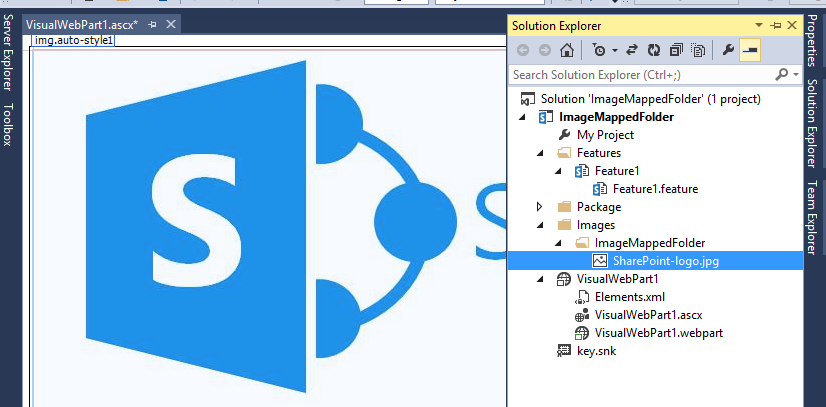
- From SharePoint Images Mapped Folder > Sub Folder.
- Drag the image that you want to add, and drop it in the visual web part page as shown below.
- Navigate to Source code, you will note that a new HTML image tag has been added with the correct image path

Conclusion
In conclusion, we have explained how to add Images to SharePoint Web Part in Visual Studio.
Applies To
- SharePoint 2016.
- SharePoint 2013.
- SharePoint 2010.
You might also like to read
- Add Image URL inside a CSS file in SharePoint Visual Web Part.
- Missing office / SharePoint Template in Visual Studio 2013.
- Visual Studio 2015 Missing SharePoint Templates.
- Farm solution Vs Sandbox solution in SharePoint 2013.
Have a Question?
If you have any related questions, please don’t hesitate to ask it at deBUG.to Community.
