In this post, we will explain How to hide Ribbon in SharePoint 2010 using CSS based on permissions or for all SharePoint users.
You might also like to read Hide SharePoint 2013 Ribbon based on Permissions
In case, you need to hide Ribbon in SharePoint 2010 using CSS for all SharePoint users, you should do the following:
- Create a New CSS file, and make sure that it has a CSS extension.
- Add the below code to the newly created CSS file.
<style type="text/css">
#s4-ribbonrow { display: none !important; }
</style>- Open Site Contents.
- Upload the CSS file to a Style Library.
- Make sure that the CSS file is checked in and published.
- Again, open Site Settings.
- Below “Look and Feel”, click on “Master Page”.
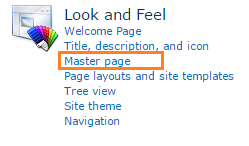
Note: this option is only available for Publishing Site, If you are using Team site, it’s by default using Seattle Master Page.
- Below Site Master Page, Check the name of assigned Master Page.

- Now, Open SharePoint Designer.
- Open your SharePoint site.
- From the left side Click on Master Pages.
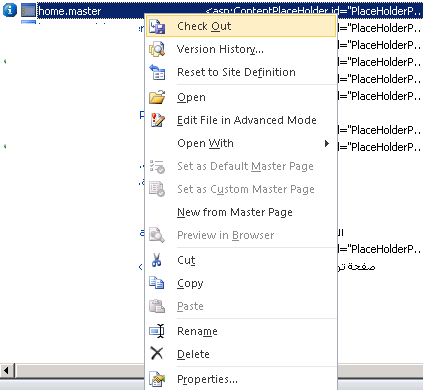
- Right Click on your custom Master Page and select “Check Out”.
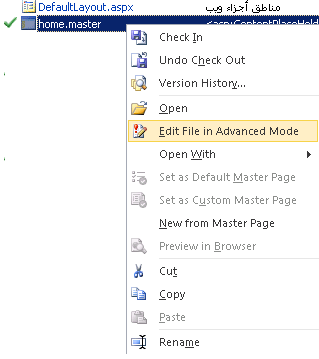
- Again, Right Click on Master Page, and select “Edit File Advanced Mode“.
- Below the <Header> tag add a link to CSS file style or add the CSS code if it’s small.
<style type="text/css">
#s4-ribbonrow { display: none !important; }
</style>- Check-in your custom Master Page.
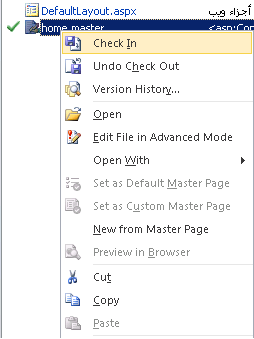
- Save your changes.

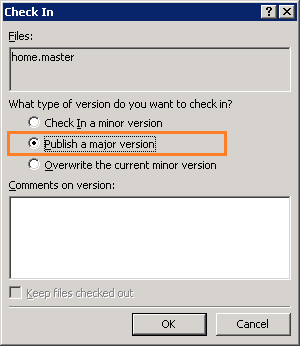
- Publish the SharePoint Master Page as a Major Version as shown below.
- In Publishing site, you will be asked to approve the Master Page.

- The Master Page Gallery will be shown.
- Below Approval status is Pending, Approve your Master Page By clicking on Arrow and select Approve and Reject.

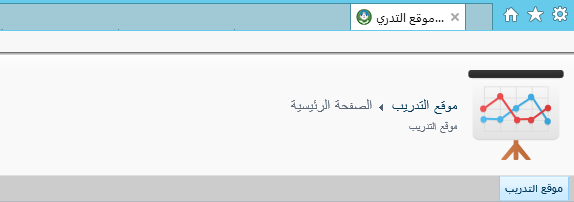
- Now open your site, you will note that the SharePoint 2010 Ribbon is hidden as shown below.
In case of you need to hide ribbon in SharePoint 2010 using CSS for only Anonymous users / Visitors users, you should do the following :
Steps
- First, Check the Master Page name assigned to your site.
- Go to Site Action –> Site Settings –> Look and Feel –> Master Page.
- Below Site Master Page –> Check the name of the assigned Master Page.
- Open SharePoint Designer –> Open your site.
- From left side Click on Master Pages –> Right Click on your custom Master Page –> Check Out.
- Right Click on Master Page –> Edit File Advanced Mode.
- Below the <Header> tag add the following code.
<style type="text/css">
#s4-ribbonrow { display: none !important; }
</style>
<SharePoint:SPSecurityTrimmedControl PermissionsString="ManagePermissions"
runat="server">
<style type="text/css">
#s4-ribbonrow { display: block !important; }
</style>
</SharePoint:SPSecurityTrimmedControl>
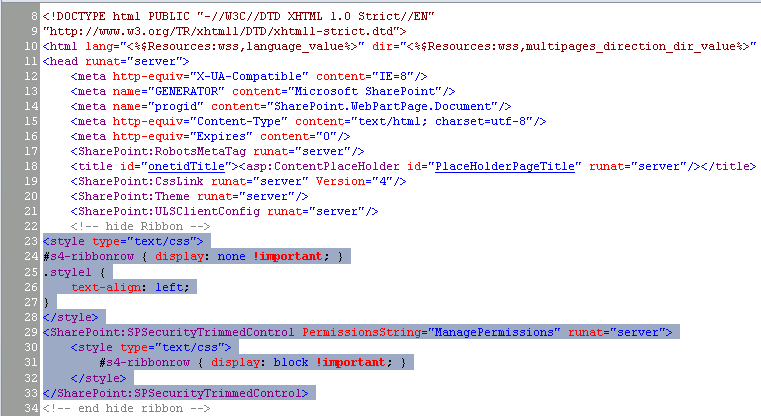
- In PermissionsString attribute, you can add any permission type from the following based on your requirement :
- FullMask.
- ManagePermissions.
- ManageSubwebs.
- ManageWeb.
- AddAndCustomizePages.
- BrowseDirectories.
- ViewPages.
- EnumeratePermissions.
- ManageAlerts.
- From left side Click on Master Pages –> Right Click on your custom Master Page –> Check-In.
- Save your changes.
- Publish Master Page and Approve it.
- Now open your site with users who have Read permission or Anonyms. you will note that SharePoint 2010 Ribbon is hidden successfully as shown below:

- Open your site with another user who can manage permission. the SharePoint 2010 Ribbon should be appear again as shown below!

Conclusion
In this post, we have learned how to hide Ribbon in SharePoint 2010 using CSS based on Permissions.
Applies To
- SharePoint 2010.
See Also
- Show / Hide DIV tag based on the user group in SharePoint via SPServices.
- Hide SharePoint 2013 Ribbon based on Permissions.
Have a Question?
If you have any related questions, please don’t hesitate to ask it at deBUG.to Community.

