In this article, we’ll explain How to Install and Configure Workflow Manager SharePoint 2013 by answering the below questions.
- What’re the Workflow platform types available for SharePoint Server 2013?
- What’re the possible scenarios to install and configure Workflow Manager for SharePoint 2013 farm?
- How to install and configure Workflow Manager SharePoint 2013 step by step?
- Important tips for configuring SharePoint Workflow Manager 2013.
You might also like to read SharePoint 2016: Configure Workflow Manager.
- 1 Configure Workflow Manager SharePoint 2013
- 2 Configure Workflow Manager SharePoint 2013 step by step
- 3 Prerequisites for SharePoint Workflow Manager 2013
- 4 Install SharePoint Workflow Manager 2013
- 5 Configure SharePoint Workflow Manager 2013
- 6 Test SharePoint Workflow Manager 2013
- 7 SharePoint Workflow Manager Tips and Considerations
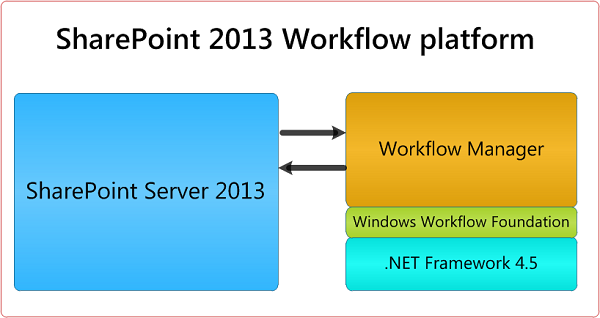
There are three Workflow platform types for SharePoint Server 2013 as the following:
- SharePoint 2010 Workflow
- Installs automatically with SharePoint 2013 Products.
- SharePoint 2013 Workflow
- Requires SharePoint Server 2013 and Workflow Manager.
- SharePoint 2013 Workflow – Project Server
- Requires SharePoint Server 2013, Workflow Manager, and Project Server 2013.
You have 4 different scenarios to install Workflow Manager in SharePoint farm as the following:
- Workflow Manager can be installed on a server that is part of the SharePoint 2013 farm, and the communication takes place by using HTTP.
- Workflow Manager can be installed on a server that is part of the SharePoint 2013 farm, and the communication takes place by using HTTPS.
- Workflow Manager can be installed on a server that is NOT part of the SharePoint 2013 farm, and the communication takes place by using HTTP.
- Workflow Manager can be installed on a server that is NOT part of the SharePoint 2013 farm, and the communication takes place by using HTTPS.
Option 4 is the preferred solution to ensure the performance and security but it’s costly.
Option 4 should be applied for building an independent Workflow Manager farm that at least should be consist of one to three servers based on organization requirements and its budget capability.
In this section, we will explain How to install and configure SharePoint Workflow Manager 2013 step by step:
- Pre-Install Steps.
- Install Workflow Manager.
- Configure Workflow Manager.
- Register Workflow Manager.
- Test Workflow Manager.
For SharePoint 2016, Please check SharePoint 2016: Configure Workflow Manager.
Before, we getting started to install and configure SharePoint Workflow Manager 2013, you should make sure and perform the following:
- Make that the SharePoint farm is at least updated to March 2013 PU (the Service Pack 1 is recommended).
- Make sure that the App Management Service is configured and started.
- Make sure that the User Profile Sync Service is working properly. (it’s not mandatory but if it’s already configured, just make sure it’s healthy working.).
- Create workflow manager service accounts and Admin groups.
- Set SQL Server Permissions for SharePoint Workflow Manager Setup Account.
- Add the SharePoint Workflow Manager setup account to the Local Administrator Group on the server that you will install the SharePoint Workflow Manager 2013.
Please, check how to configure the App Management service at Sorry, something went wrong App Management Shared Service Proxy is not installed in SharePoint Server 2013
Workflow Manager Services Accounts and Admin Groups
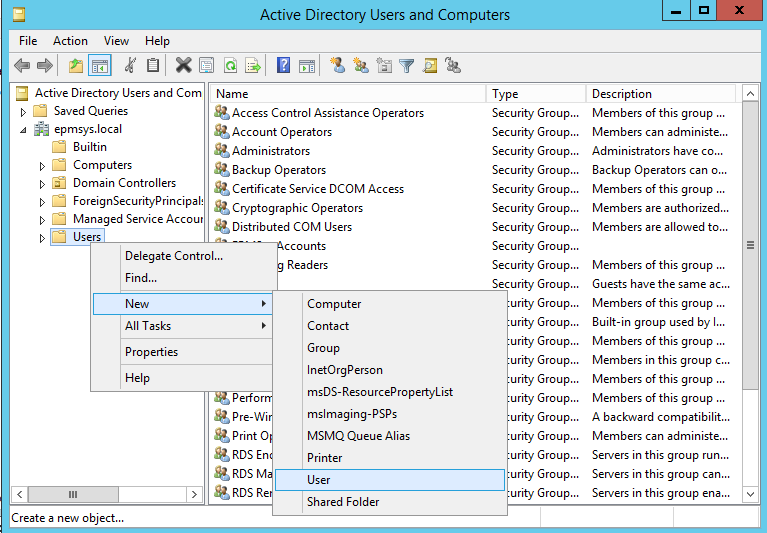
- Open AD server to create the below two accounts.
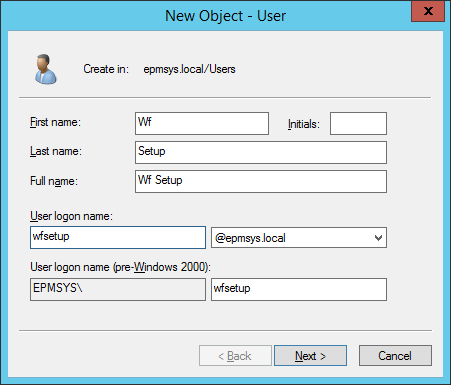
- ‘wfsetup’ to setup the workflow manager.
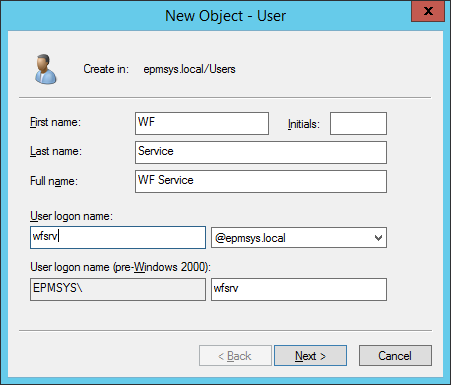
- ‘wfsrv’ to run the workflow manager services.
- Create the Workflow Setup account.
- Specify the Workflow Setup account details.
- Create the Workflow manager Service account.
- Create the workflow manager administrator group.
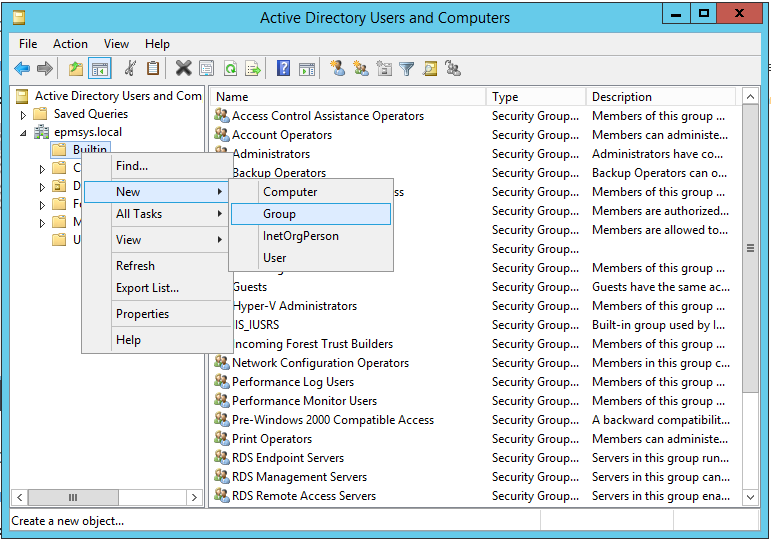
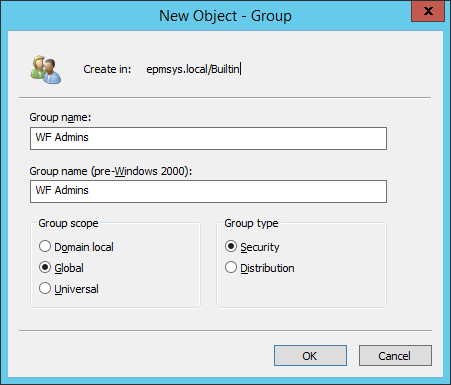
- Set the Workflow Admin group name to “WF Admins”.
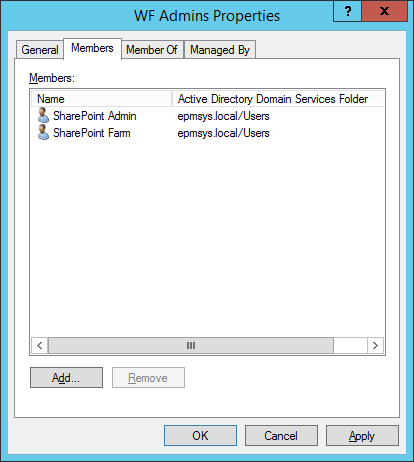
- Add the SharePoint Admins to WF Admins Group.
Steps
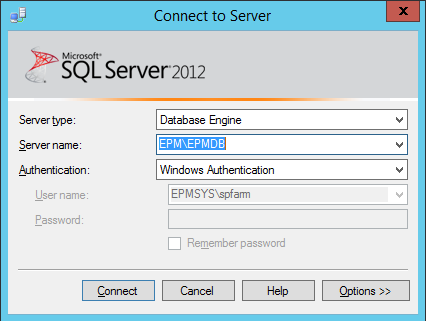
- Open Management Studio > Connect.
- Below Security > Right click on Logins > New Login.
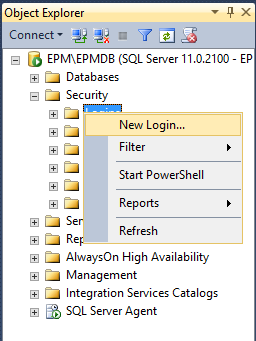
- The following dialog should be shown.
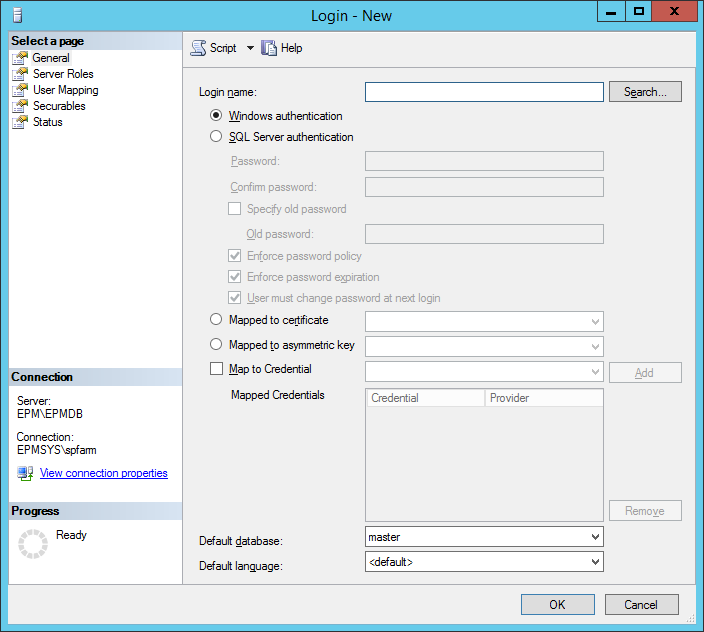
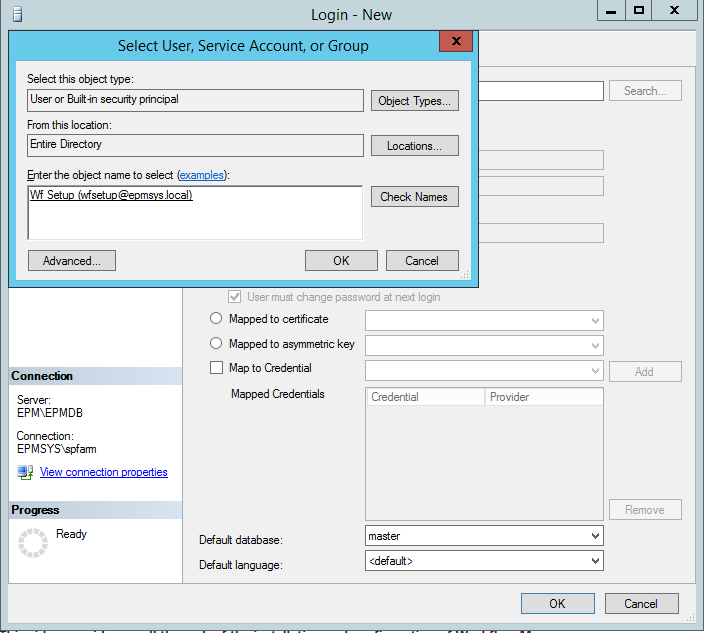
- Click on Search to find the WF Setup Account.
- Go to “Server Roles”, Check the “dbcreator” & “securityadmin” role.

As we earlier mentioned, we will install the Workflow Manager as a part of SharePoint Farm. therefore, you can choose whatever APP or WFE server in the SharePoint farm to install Workflow Manager on it.
Whatever you have decided to install SharePoint Workflow Manager as a part of the SharePoint farm or you will install it as an independent farm, you would need to add the Workflow Manager setup account to the local administrator group of this server during the installation and configuration process.
Steps
- Open Server Manager > Tools > Computer Management > Local Users Ad Groups > In Administrator Group > Add WF Setup Account as Member.
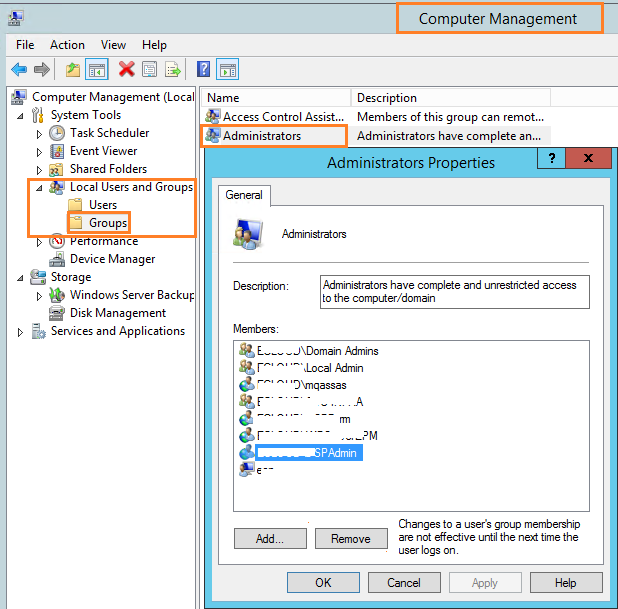
After applying the above prerequisites list, you should now go to Install and Configure Workflow Manager SharePoint 2013.
In this section, we will go through the detail steps to Install SharePoint Workflow 2013 by doing the following:
Steps
- Login to Workflow Manager Server using WF Setup Account.
- Download the Microsoft Web Platform Installer 5 from here.
- Open Microsoft Web Platform Installer 5 and navigate to Product Tab.
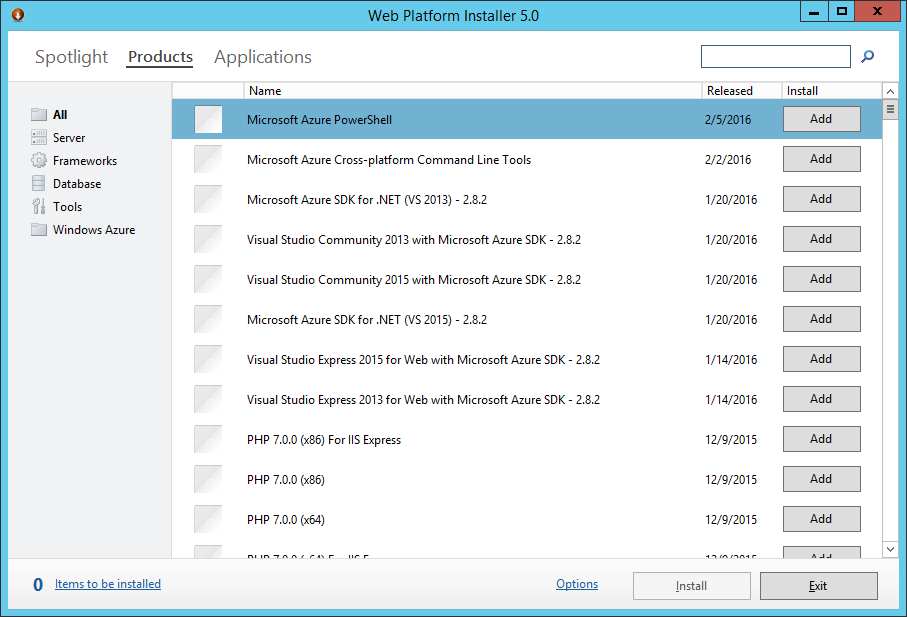
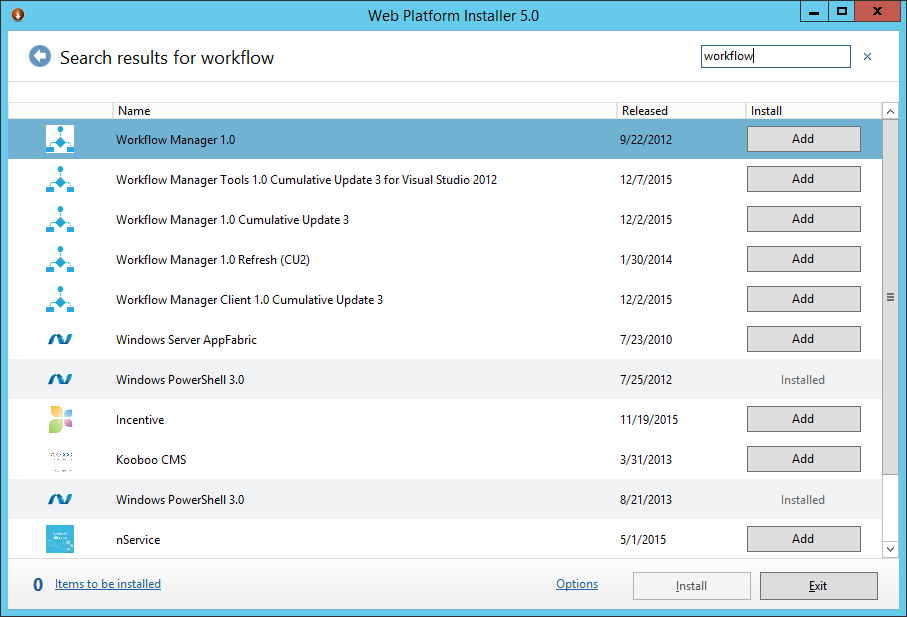
- In search box > Type “Workflow Manager”.
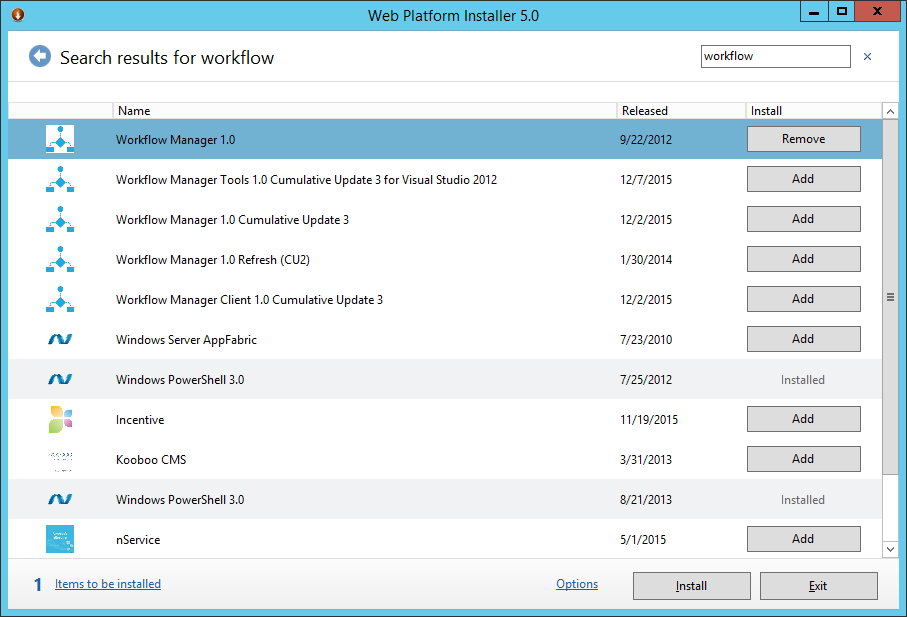
- Press add then Click on install.
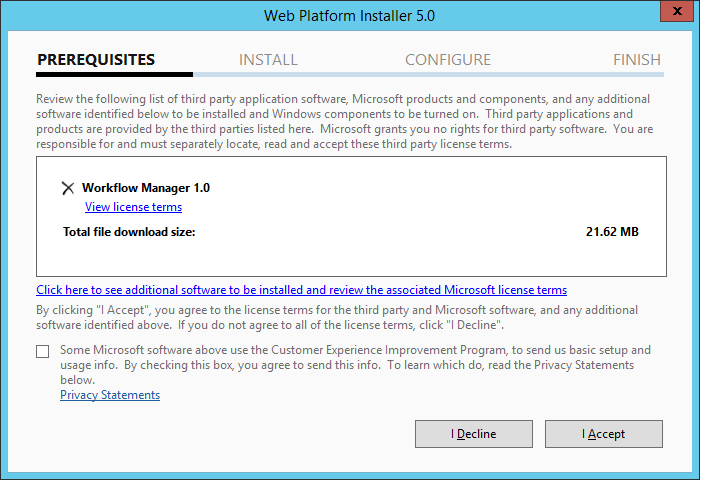
- The following dialog should be shown > Click On I Accept.
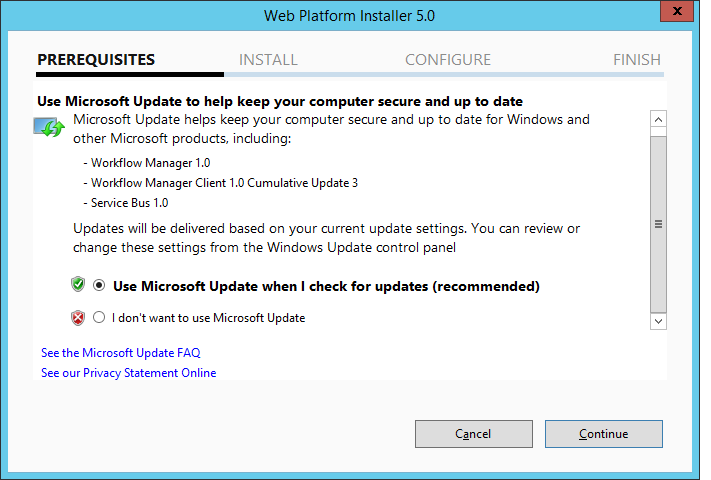
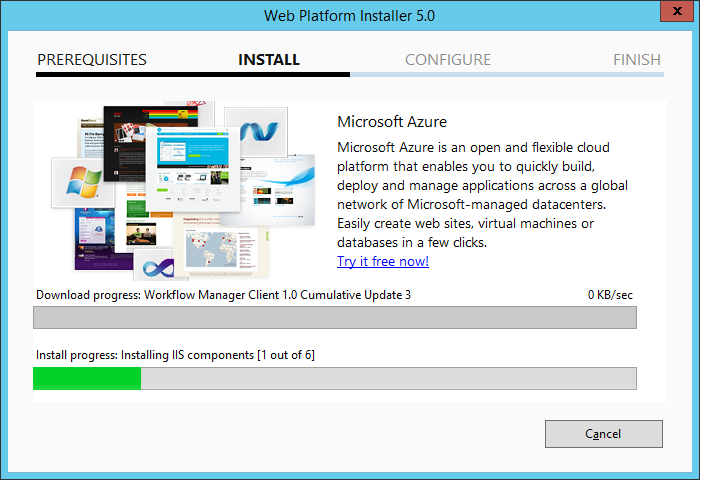
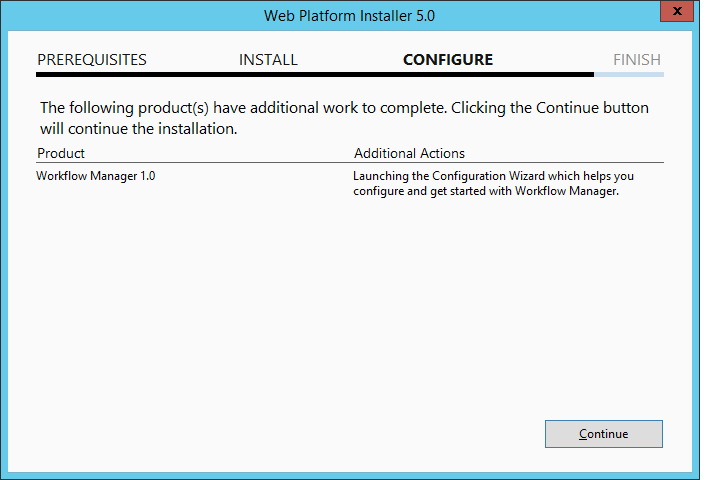
- Click on continue where the configuration wizard should be shown.
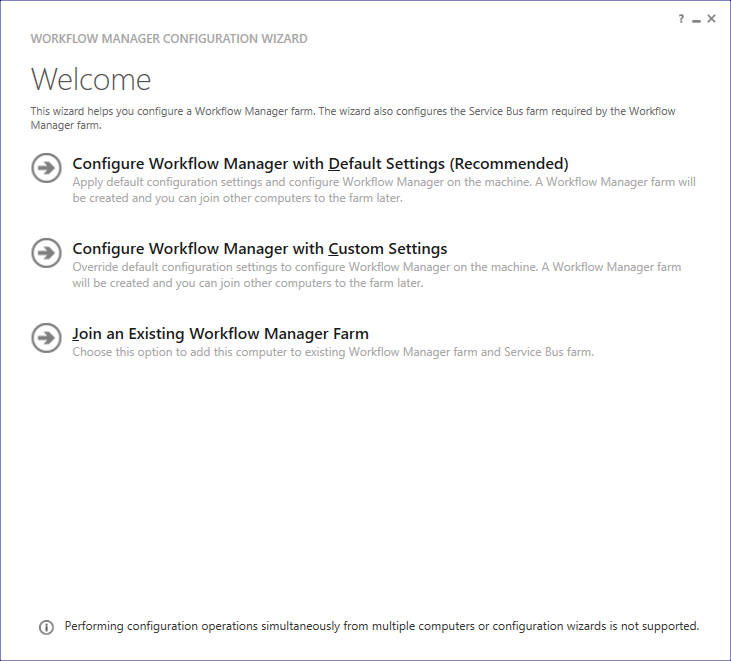
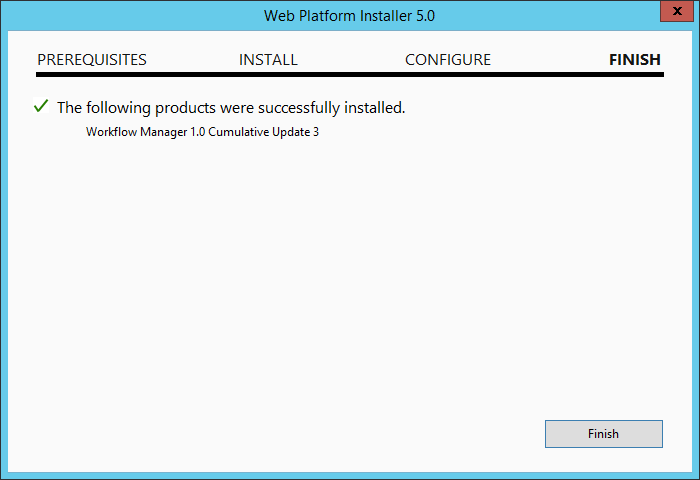
- Close it and click finish.
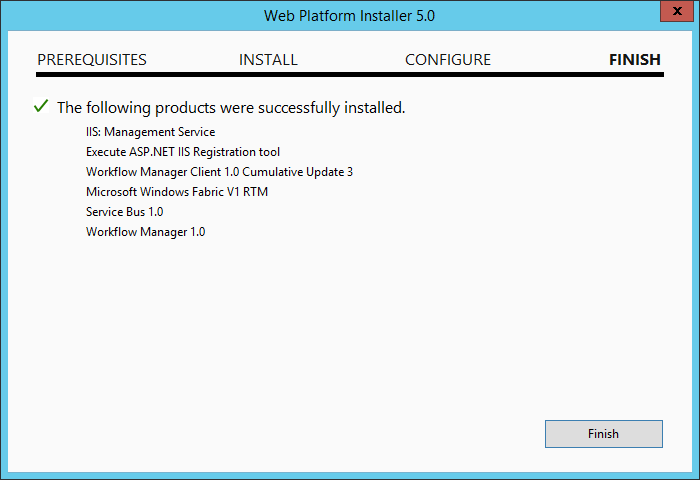
Install the Service Bus Cumulative Update
- Again, open Web Platform Installer to install the Service Bus 1.0 Cumulative Update 1.
- In Search box type Service Bus and Click on Add > Install.
- Click on I accept.
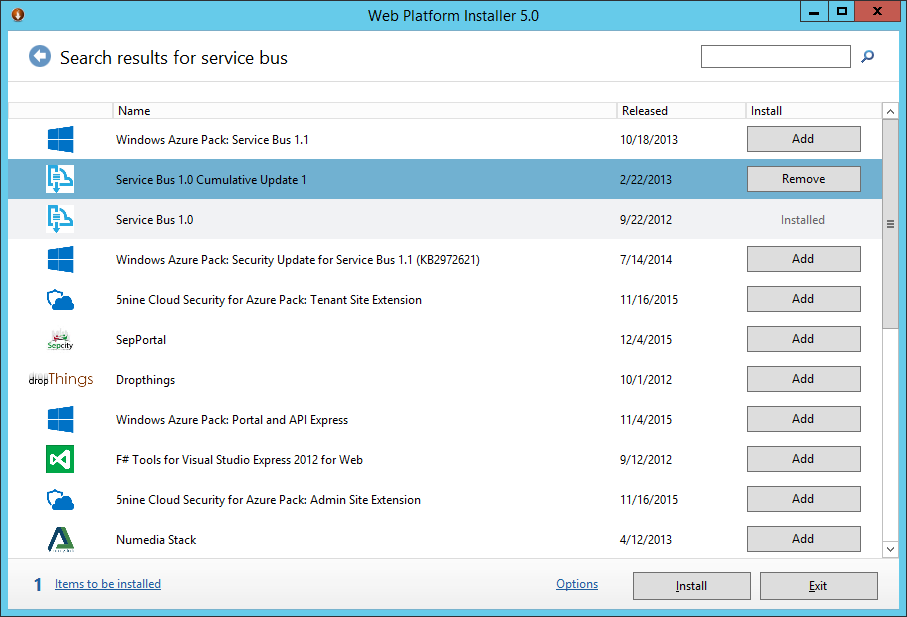
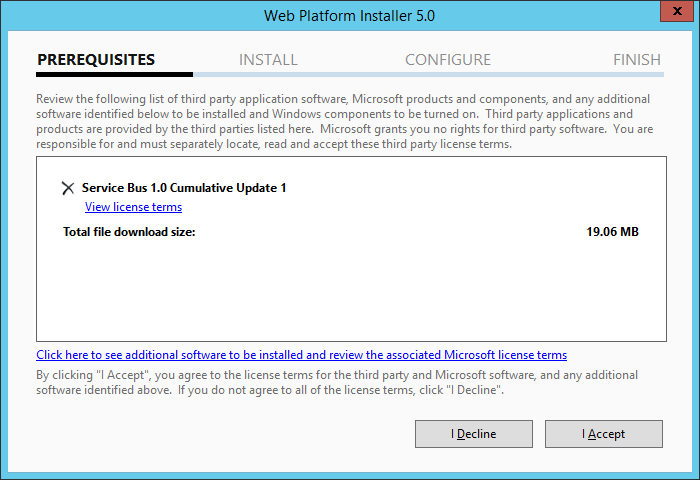
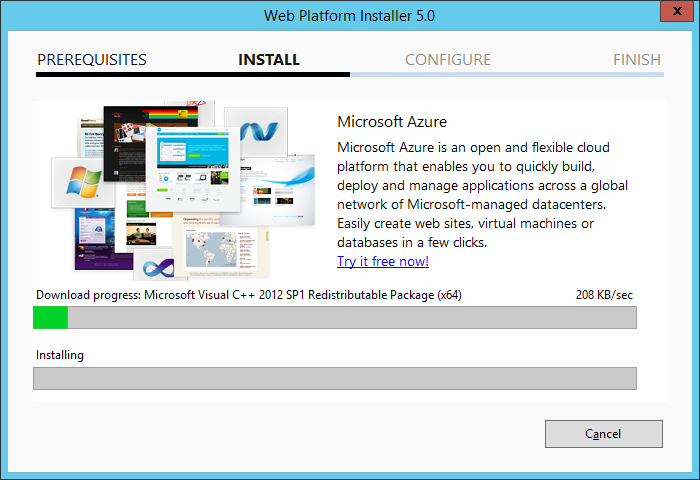
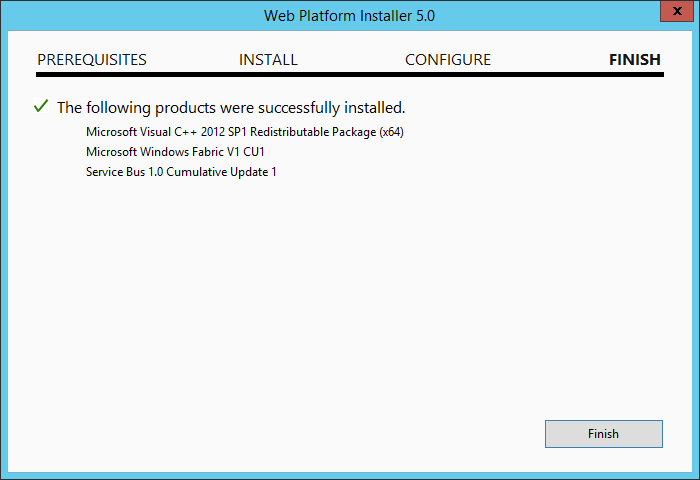
Install Workflow Manager Cumulative Update
- In Search box type Workflow Manager and Click on Add > Install.
- Click on I accept.
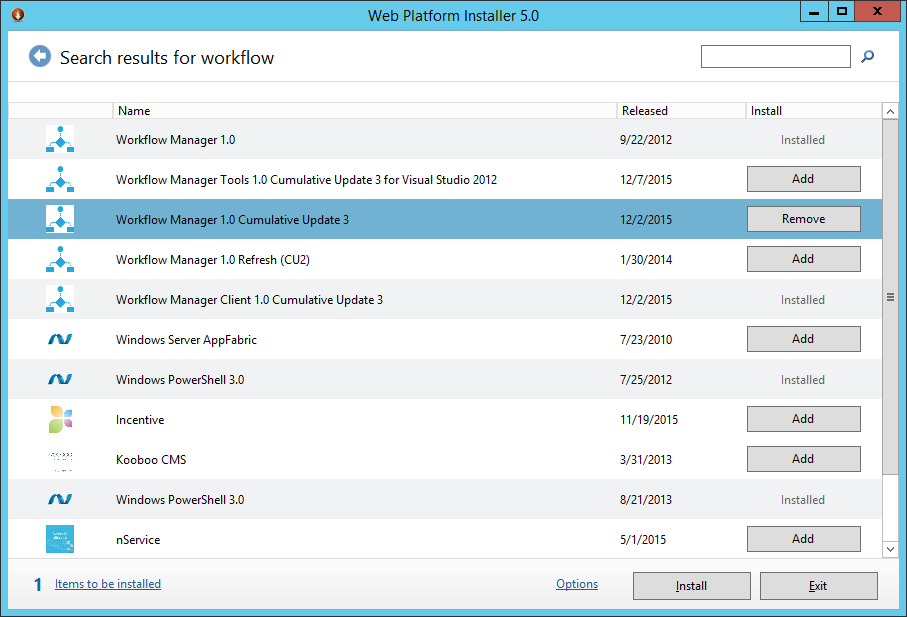
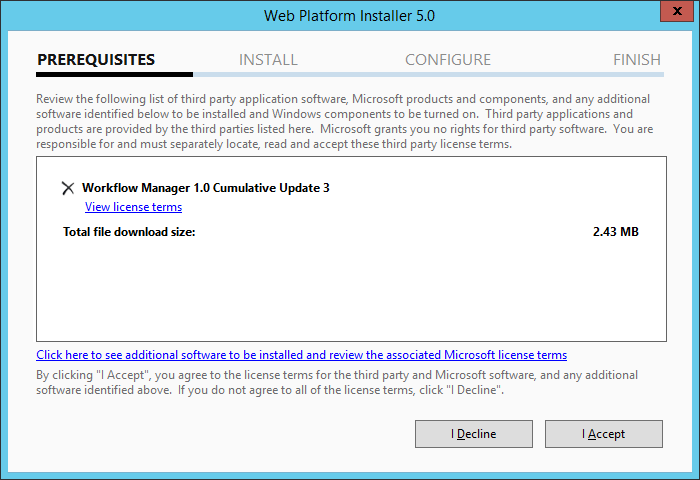
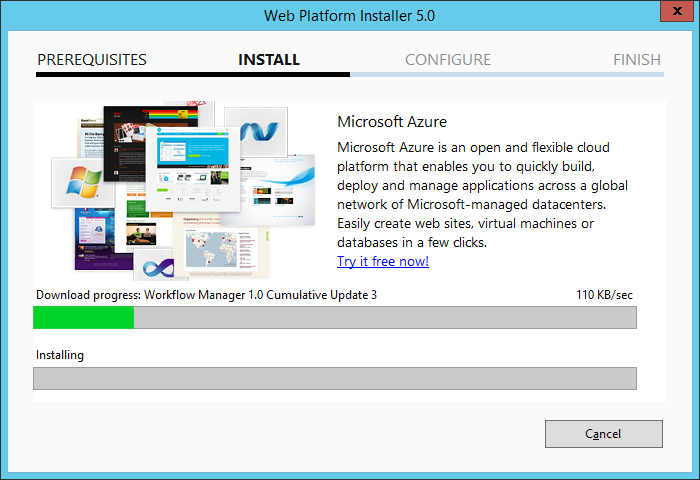
- Login to Workflow Manager Server using WF Setup Account.
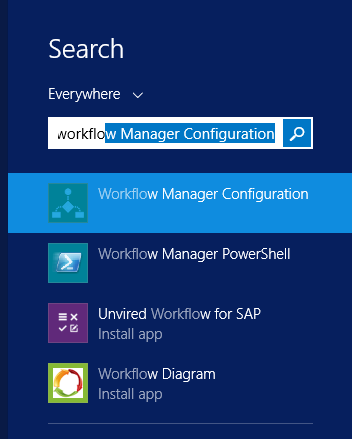
- From Start menu > Type Workflow Manager Configuration.
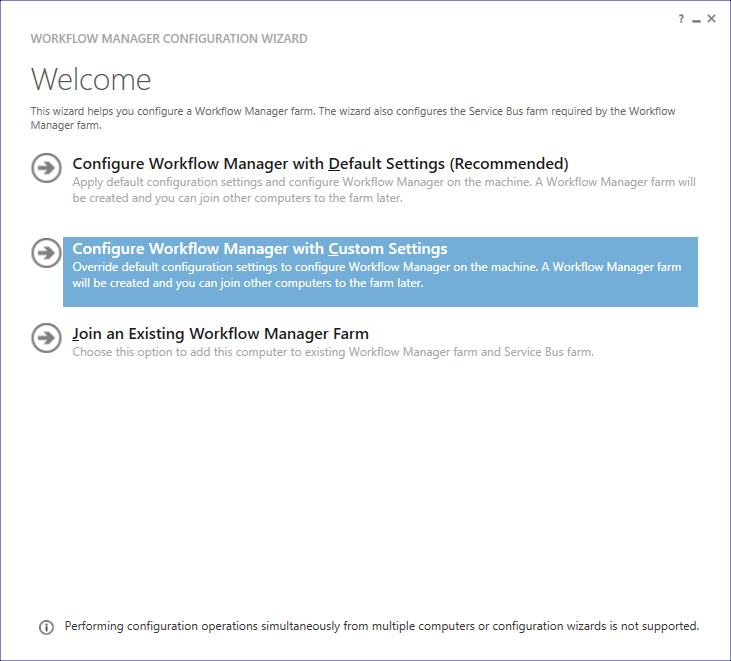
- The following dialog should be shown > Select Configure Workflow Manager with Custom Settings.
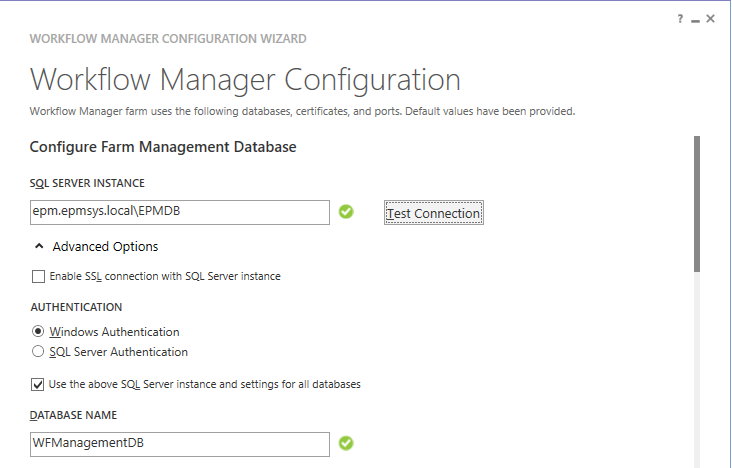
- Configure Farm Management Database as shown below > Click on Test Connection.
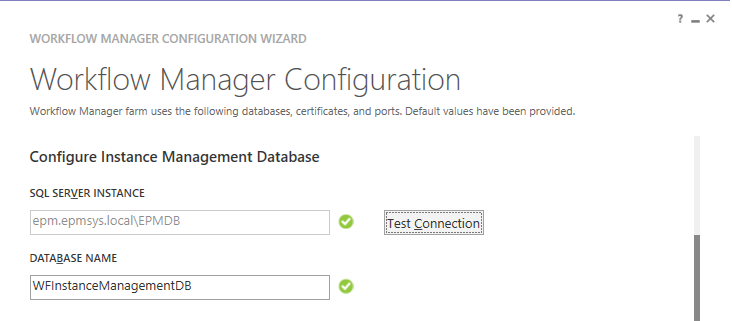
- Configure Instance Management Database as shown below > Click on Test Connection.
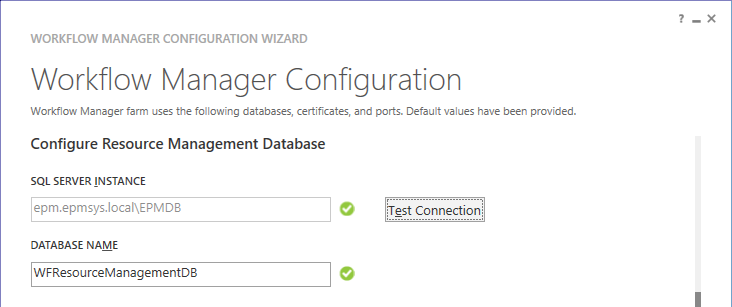
- Configure Resource Management Database as shown below > Click on Test Connection.
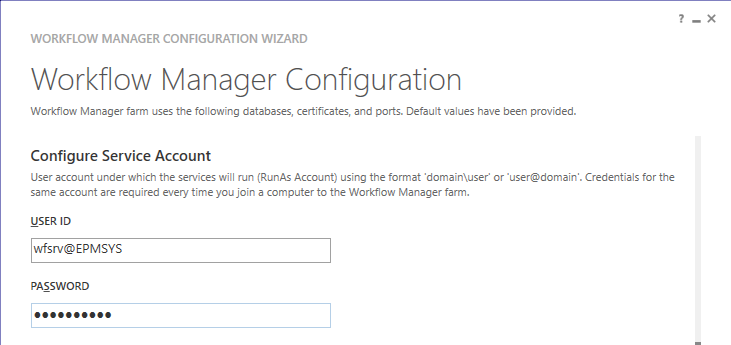
- Configure Service Account (domain\wfsrv).
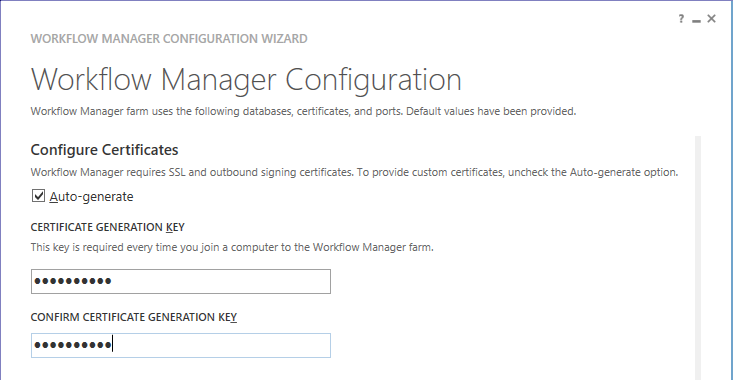
- Configure Certificates.
- If you don’t have certificates check auto-generate and set the generation key as SharePoint Pass-phrase.(if you have a certificate uncheck auto-generate and click browse to choose it).
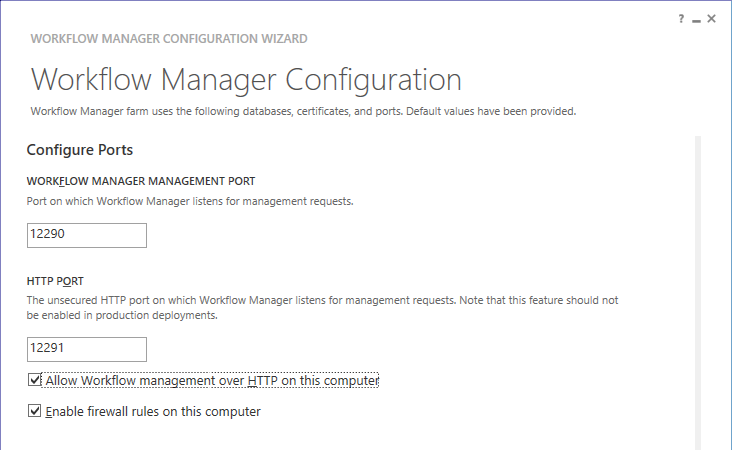
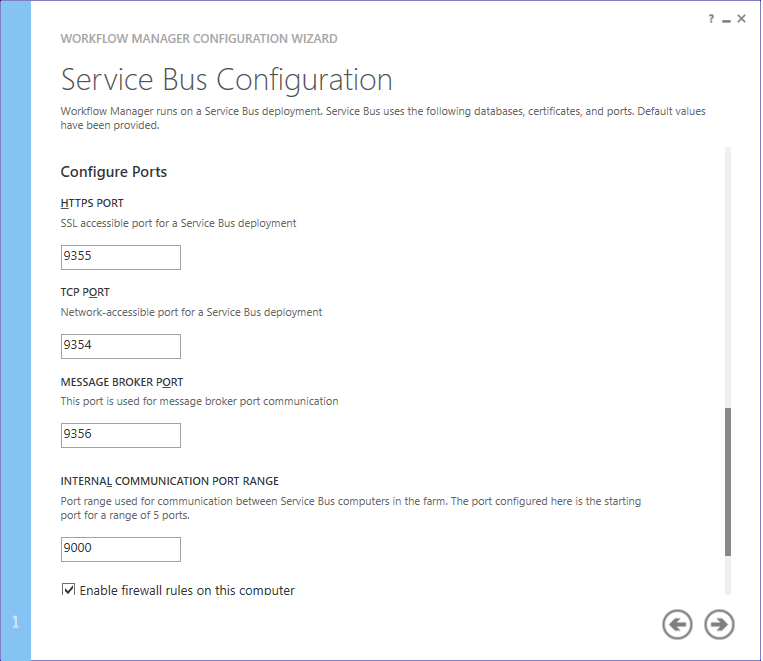
- Configure Ports (Note: the assigned ports in this step are the same ports that will be used during registering workflow manager via
Register-SPworkflowservicecmdlet. for more details checks Register-SPworkflowservice )- Let the default ports for Http/https.
- Check to allow workflow management over HTTP on this computer.
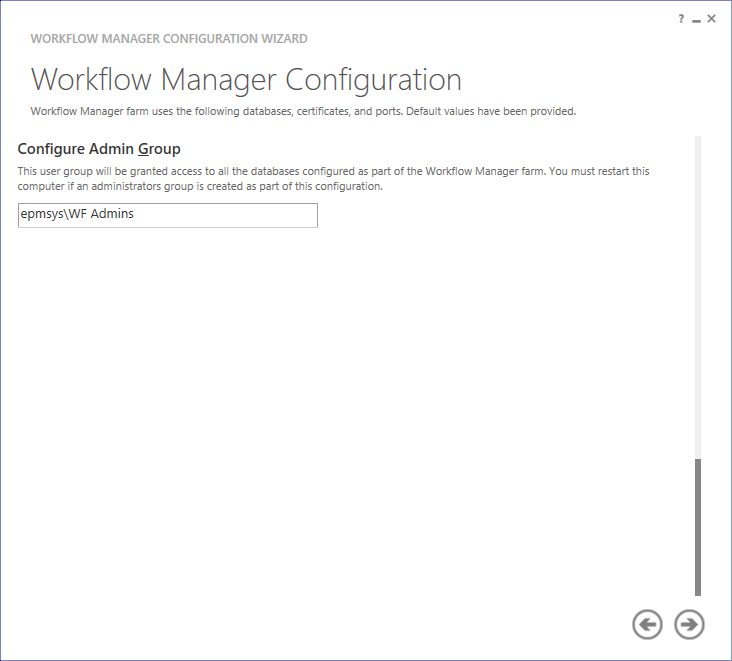
- Configure Admins Group and click Next.
- Set the admins group that you have created in the pre-install step.
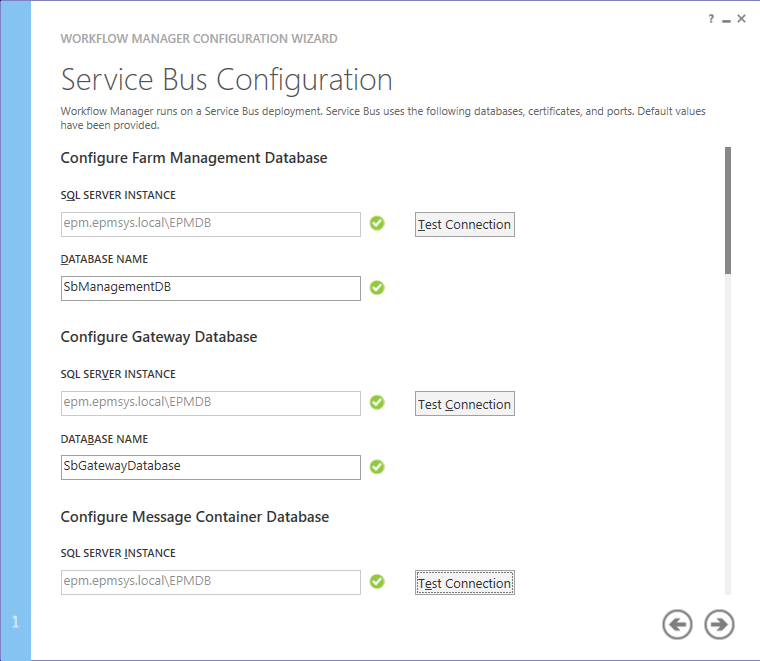
- Test connection to configure Service Bus.
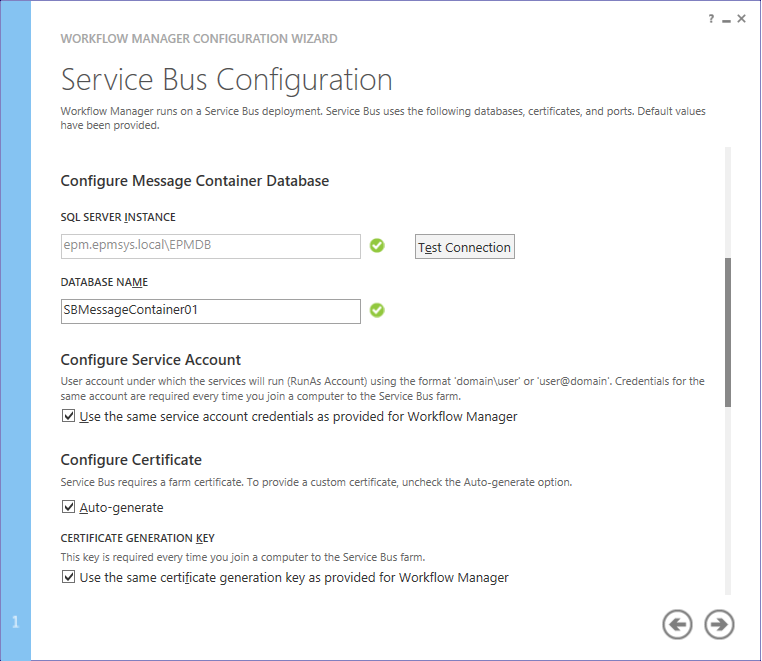
- Use the same configuration of Workflow Manager for Service Bus > Click on Next.
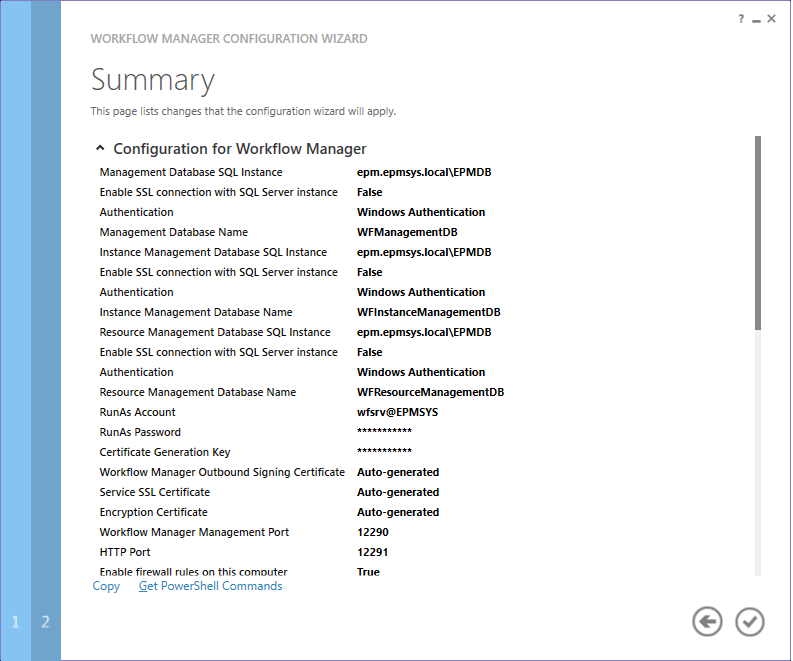
- Review the Summary > Click on the True button.
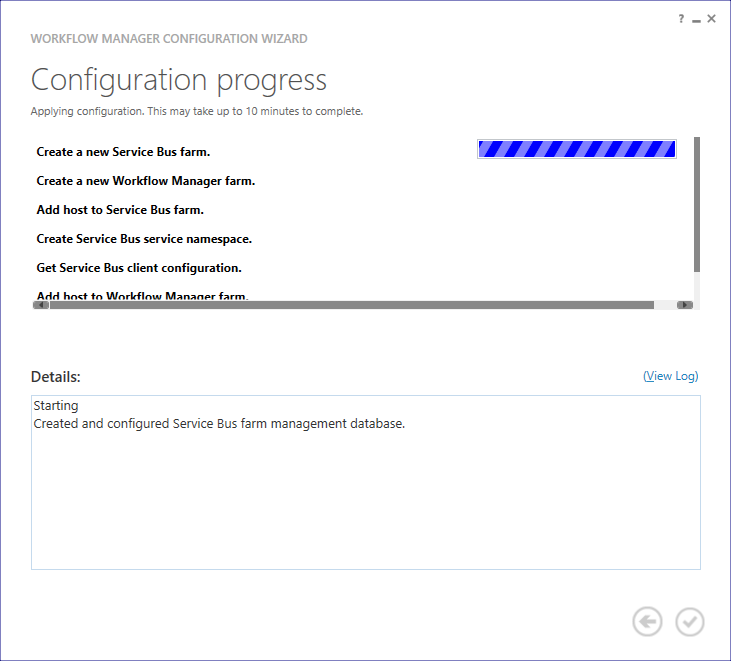
- The Configuration Progress would be starting now.
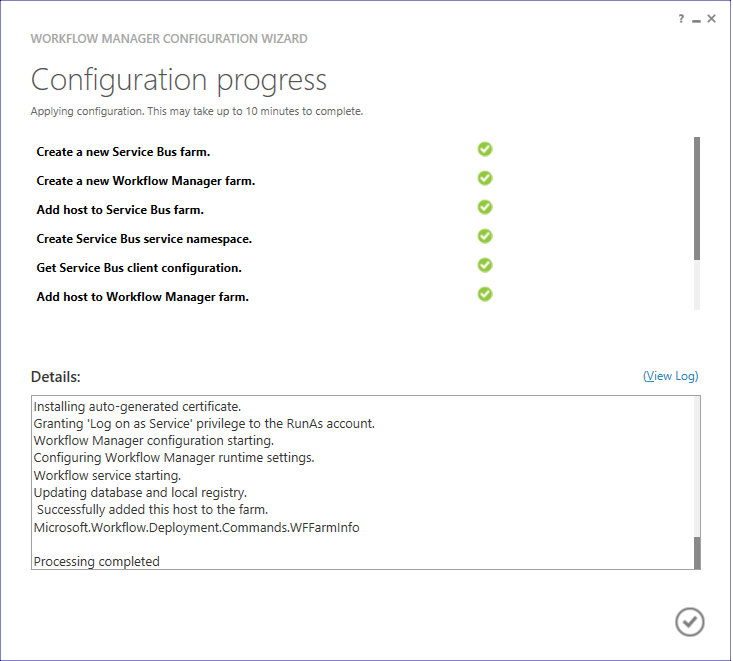
- The configuration wizard is completed successfully.
- Log on to each server in the SharePoint Server 2013 farm and install the Workflow Manager Client for each server.
- Download and install the Workflow Manager Client.

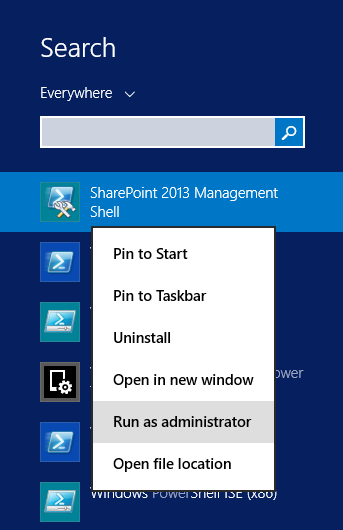
- Run the SharePoint Management Shell as an administrator.
- This is accomplished by right-clicking the SharePoint 2013 Management Shell and choosing Run as administrator.
- Run the Register-SPWorkflowService cmdlet as shown below.
Register-SPWorkflowService -SPSite 'https://myhost/mysite' -WorkflowHostUri 'http://workflowhost:12291' -AllowOAuthHttpSPSite: Specifies a site collection to configure.
It seems that each site collection needs to be registered with workflow service. But actually it’s not 100% correct, once you have registered a workflow service to any SharePoint site collection within the farm, it will be enabled for all SharePoint web applications/site collections. I am pretty sure about this behavior and that what I got on my farm.
WorkflowHostUri: Specifies a string of the full URI for the Workflow Service.
The provided ports must be the same provided ports in the Configure Ports step as above mentioned by default it’s 12291 for HTTP and 12290 for HTTPS.
- The SharePoint Workflow Manager Service should be registered successfully.

If you have faced any issue during registering the SharePoint Workflow Manager Service, so it’s strongly recommended to check the below links:
- Re-register SharePoint Workflow Manager Service.
- Register-SPWorkflowService: Timeout Issue.
- Register-SPworkflowservice unable to connect to the remote service at Workflow Manager 2016
To make sure that the workflow configuration is done successfully, you should check the following:
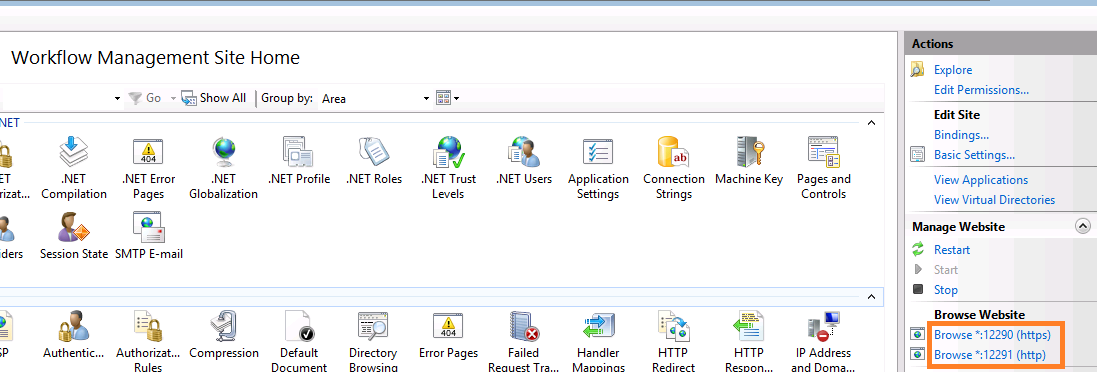
- Open IIS > From left side expand Sites > Workflow Management Site.
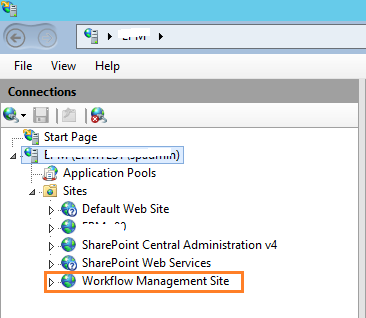
- From right side > Click Browse.
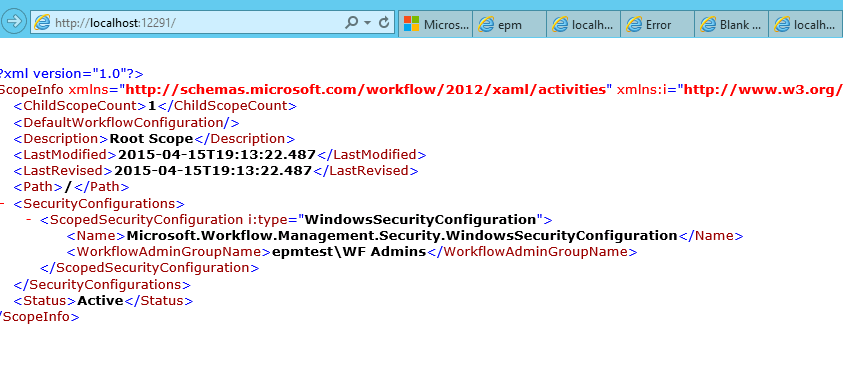
- The following page should be shown and that means the workflow manager has been connected and registered correctly
If the workflow manager API didn’t work , you will need to check 403 forbidden error.
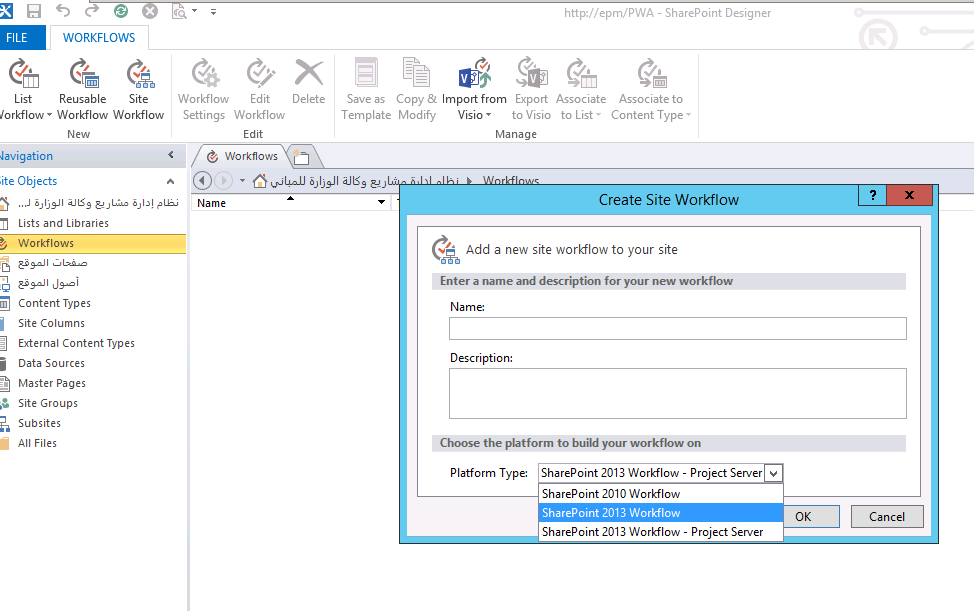
- Open SharePoint Designer > Workflows > Create Site Workflow > In Platform Type > the SharePoint 2013 Workflow should be now listed.
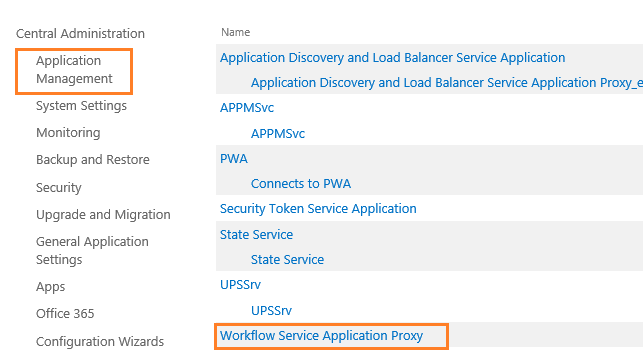
- Open Central Administration > Application Management > Manage Service Application .
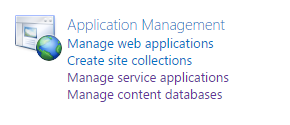
- Click on Workflow Service Application Proxy.
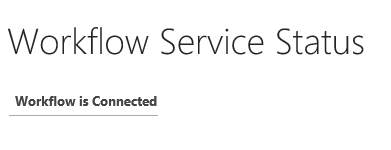
- Make sure that the Workflow is Connected.
For more details, please check Test Workflow Manager Configuration In SharePoint Farm.
- The SharePoint 2013 Workflow platform is not supported in SharePoint Foundation 2013.
- The SharePoint 2013 farm must be at least updated with March 2013 PU, and we recommend installing Service Pack 1.
- Workflow Manager is not installed automatically when you install SharePoint Server 2013, you must download and install it.
- The SharePoint 2010 Workflow platform is installed automatically when you install the SharePoint Server 2013.
- The SharePoint 2013 Workflow platform is not installed by default, it requires to install the Workflow Manager.
- When you installed the Workflow Manager on a server, it automatically installs the Workflow Manager Client on that server, and You will still need to install the Workflow Manager Client on any other additional SharePoint servers. For example, if you have a farm that contains five servers, and you installed the Workflow Manager on one of those servers, so you will need to install the Workflow Manager Client on the other 4 SharePoint servers.
- You must install the Workflow Manager Client on each server in the SharePoint farm before you run the registration for workflow manager service cmdlet using PowerShell.
Conclusion
In this article, I have explained How to Install and Configure Workflow Manager SharePoint 2013 step by step.
Additionally, we have answered
- What’re the Workflow platform types available for SharePoint Server 2013?
- What’re the possible scenarios to install and configure Workflow Manager for SharePoint 2013 farm?
- How to install and configure Workflow Manager for SharePoint 2013 step by step?
- Important tips for configuring Workflow Manager for SharePoint 2013.
Applies To
- SharePoint 2013.
- Workflow Manager.
See Also
- SharePoint 2016: Configure Workflow Manager.
- Failed to query the OAuth S2S metadata endpoint at URI.
- The Caller doesn’t have the necessary permissions required for this operation.
- Re-register SharePoint Workflow Manager Service.
- Workflow Manager: HTTP 403 Forbidden.
- SharePoint Workflow Manager Health Check.
- Register-SPworkflowservice unable to connect to the remote service during registering the Workflow Manager in SharePoint 2013.
Have a Question?
If you have any related questions, please don’t hesitate to ask it at deBUG.to Community.

Pingback: SharePoint 2016: Configure Workflow Manager | SP Geeks
Pingback: Workflow Manager Health Checklist | SP Geeks
Pingback: Re-register SharePoint Workflow Manager Service | SP Geeks
Pingback: Failed to query the OAuth S2S metadata endpoint at URI | SP Geeks
By default, the Workflow Manager is configured with end point containing FQDN of the server, e.g. server.domainA.local. I am issued with a wild card SAN certificate that is having DNS of *.domain.com. At the end of the configuration, the Workflow Service frontend failed to run. I presume it is due to the mismatch of workflow manager endpoint URL of https://server.domainA.local:12290 with the DNS of the certificate which is having *.domain.com. Is there any workaround to resolve this issue?