In this article, we will explain step by step how to extend Web Application SharePoint 2016 using PowerShell and Central Administration.
You might also like to read Get All Web Applications within the SharePoint Farm Using PowerShell
In some cases, You may need to share the same content with different types of users (Internal / External) through different URLs, and sometimes, you may also need to share the same content with different authentication types.
In such cases, you will need to extend your SharePoint web application.
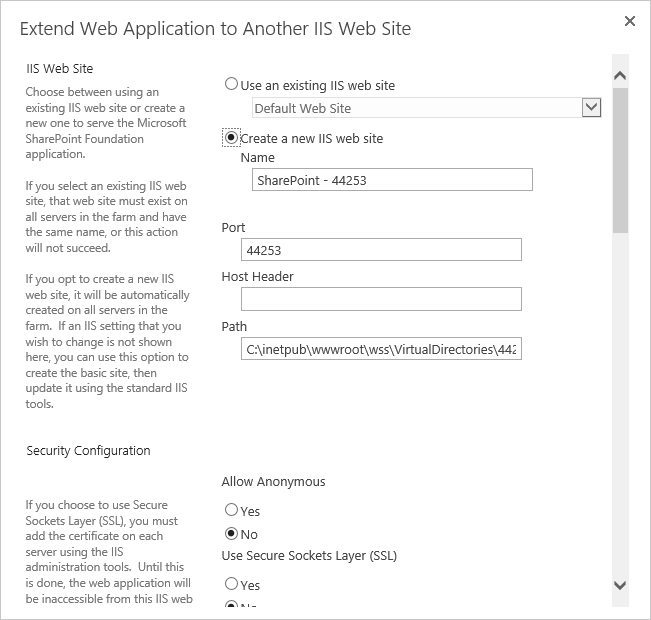
Note: if you just looking for changing the URL to the same audiences, therefore, you don’t need to extend your web application, otherwise, configuring the Alternative Access Mapping can satisfy your requirements.
Before we getting started to Extend Web Application SharePoint 2016, you should first be aware of the following:
- When the web application is extended, a different Web Application and IIS are created but it will not be listed in Central Administration > Manage Web Application. However, you can get the list of extended web application as mentioned at Getting List of all extended web application SharePoint 2016.
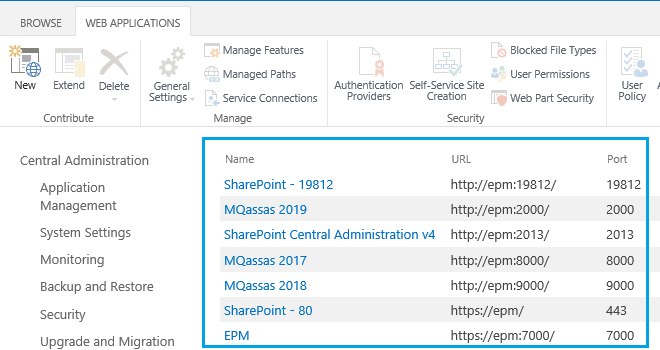
- Each time you are trying to extend the web application it will be extended to an independent available zone and that means you only extend the main web application only 4 times besides the default zone. – Read more at SharePoint 2019 Web Application Limit.
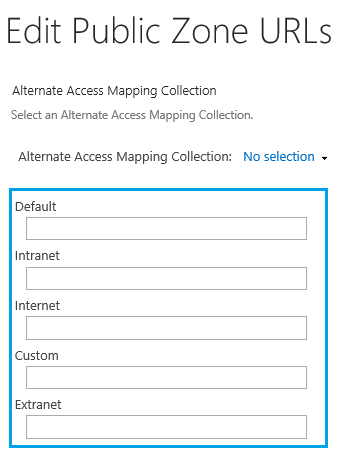
- You will get this error The web application could not be extended because an unused zone could not be found. if you tried to Extend a web application more than 4 times.
- The main Web Application and the extended one will share the same Content Database.
- You can extend the web application to change the port number. Meanwhile, you can extend the web application to port 80 in case you use the Host Header.
- Extending web application is used for extranet deployments in which different users access the same content through different domains and different authentication types.
- You can delete unextended web applications as mentioned at Unextend SharePoint 2016 web application.
- Deleting an extended web application doesn’t affect the content database, moreover, you can remove it without deleting the IIS site.
You might also like to read Web Application limits in SharePoint 2016 compared to SharePoint 2013.
Below, we will show the simple steps to extend a SharePoint 2016 Web Application:
Steps
- Open Central Administration > Application Management > Manage web applications.
- Click on the web application that you would like to extend it.
- From the above ribbon click on the “Extend” button.
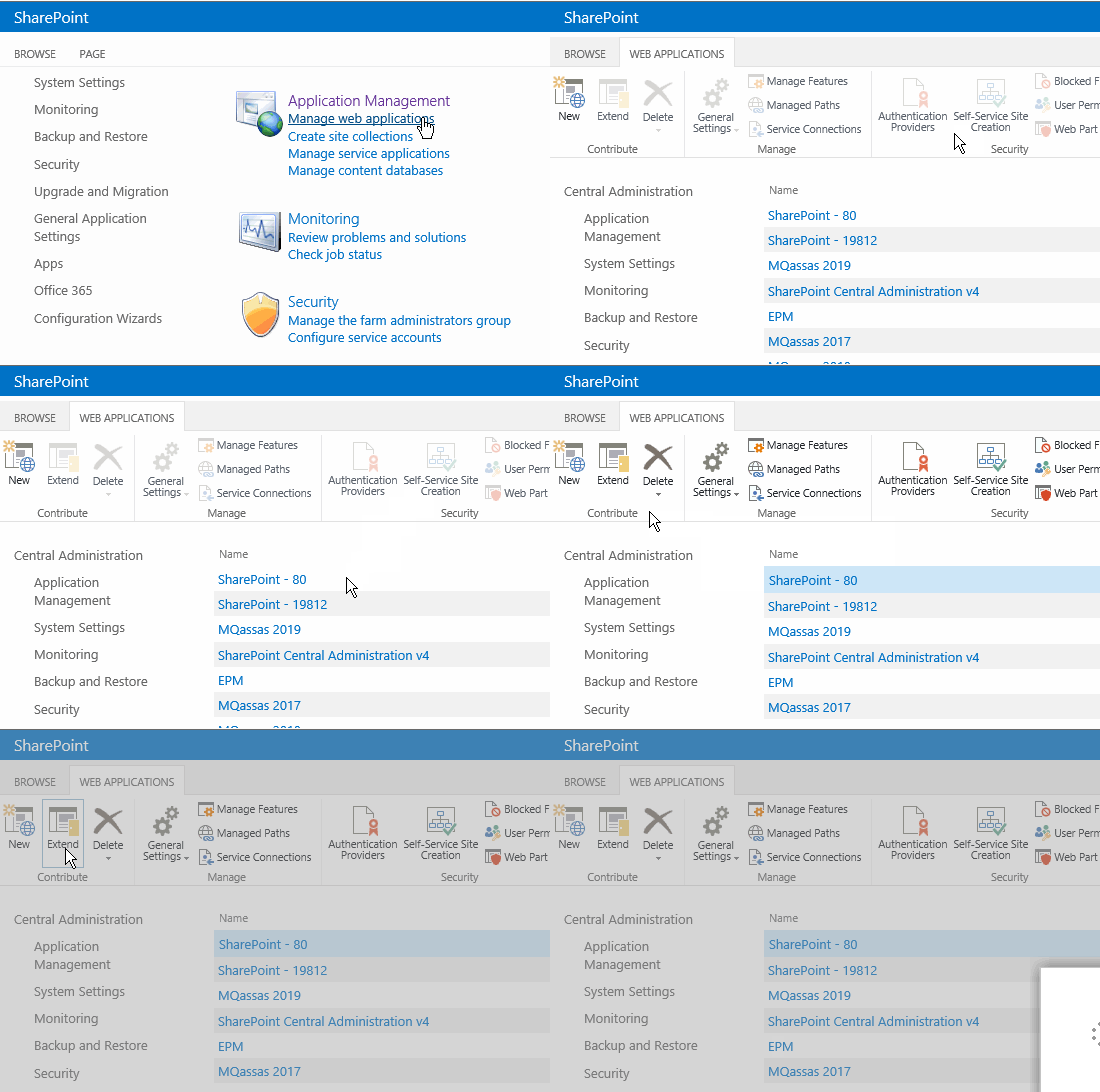
- The Extend Web Application dialog will be shown.
- Fill the required information as per your requirements
- Port number,
- Host Header,
- Change the authentication type …etc.
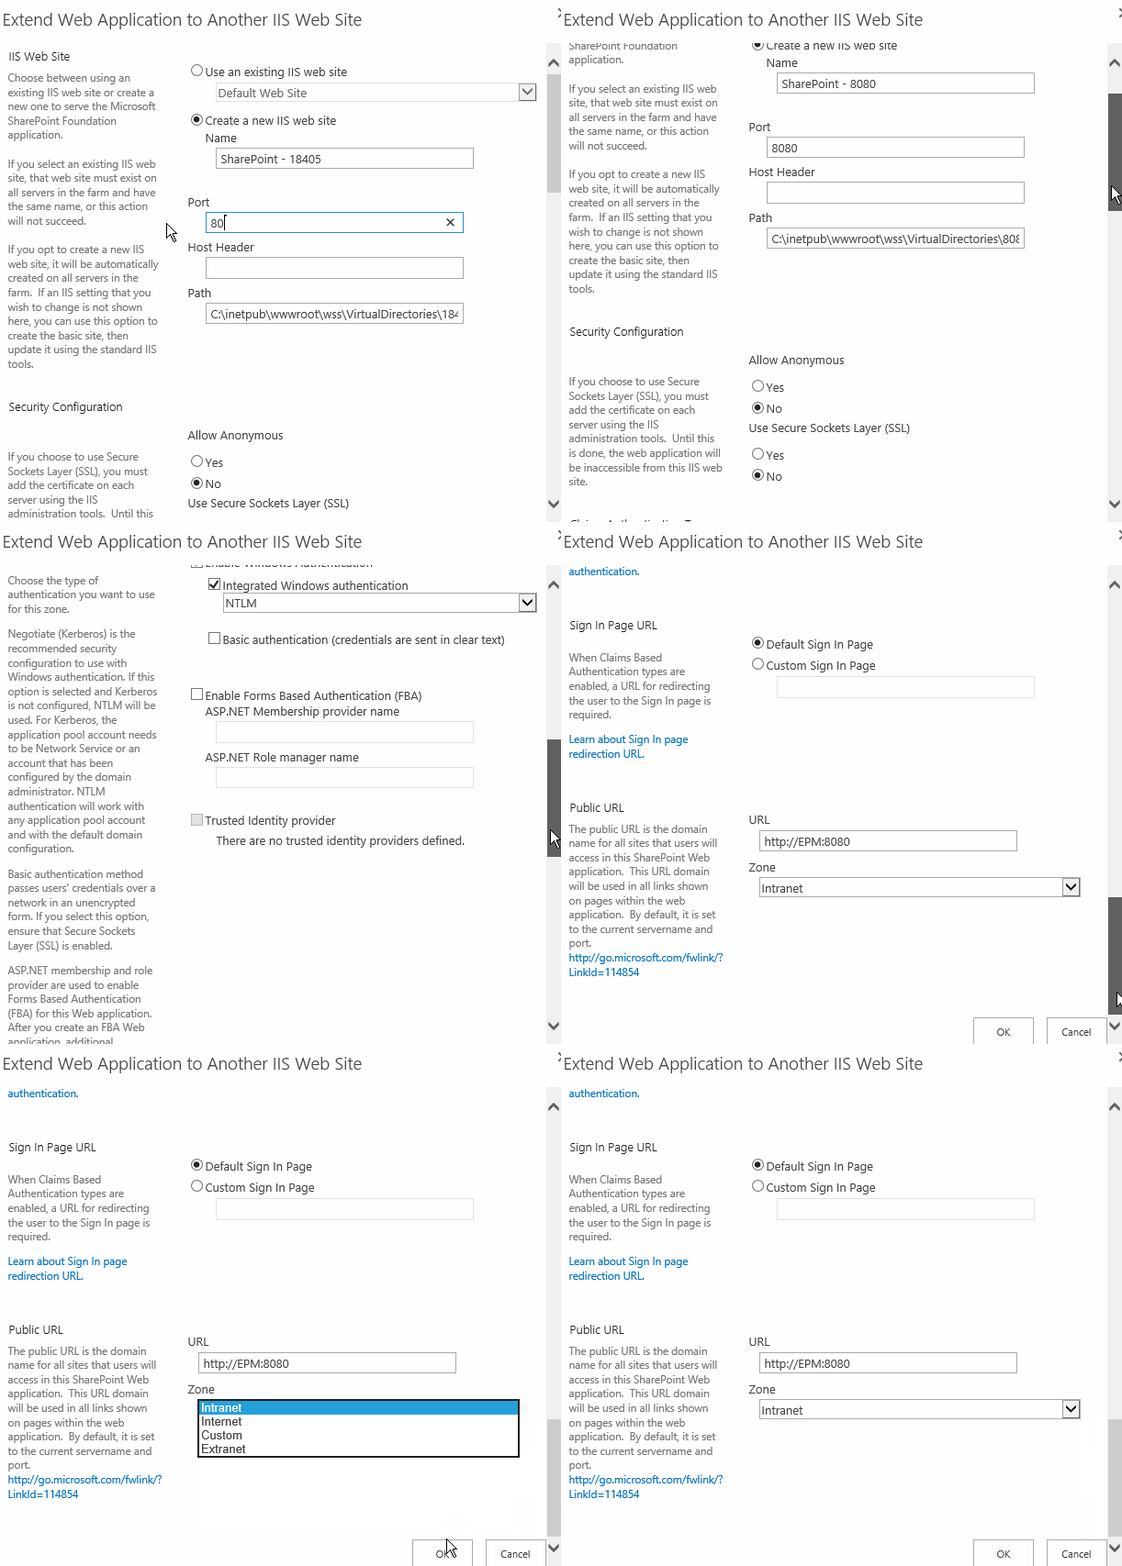
You can also extend web application in SharePoint 2016 using PowerShell by doing the following:
Steps
- Open SharePoint 2016 Management Shell as Administrator.
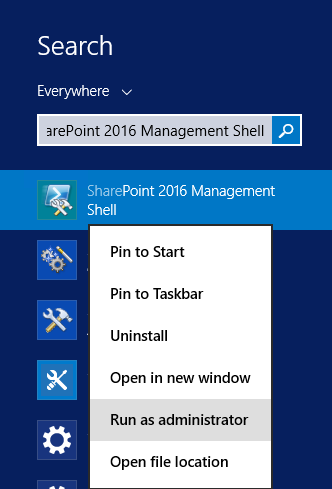
- Run the below cmdlet with your own values
Get-SPWebApplication http://yourWebAppURL | New-SPWebApplicationExtension -Name "IntranetSite" -Port yourport -Zone "Intranet"This cmdelt will extend your web application to Intranet Zone with your specific port
Get-SPWebApplication http://yourWebAppURL | New-SPWebApplicationExtension -Name "ExtranetSite" -SecureSocketsLayer -Zone "Extranet" -URL "https://webappurl"This cmdelt will extend your web application to Extranet Zone with SSL
To learn more about Extend Web Application SharePoint 2016 PowerShell cmdlet please check New-SPWebApplicationExtension
Conclusion
In conclusion, we have explained How to extend web application SharePoint 2016 using Central Admin and PowerShell, also we have listed some Tips and Consideration that you should know before performing SharePoint 2016 extend Web Application.
Applies to
- SharePoint 2019.
- SharePoint 2016.
- SharePoint 2013
You might also like to read
- SharePoint 2016: Convert Server Role.
- Install SharePoint 2016 step by step.
- SharePoint 2016 New and Deprecated Features.
Have a Question?
If you have any related questions, please don’t hesitate to ask it at deBUG.to Community.

Pingback: PowerShell Script: SharePoint Farm Scan Report | SPGeeks