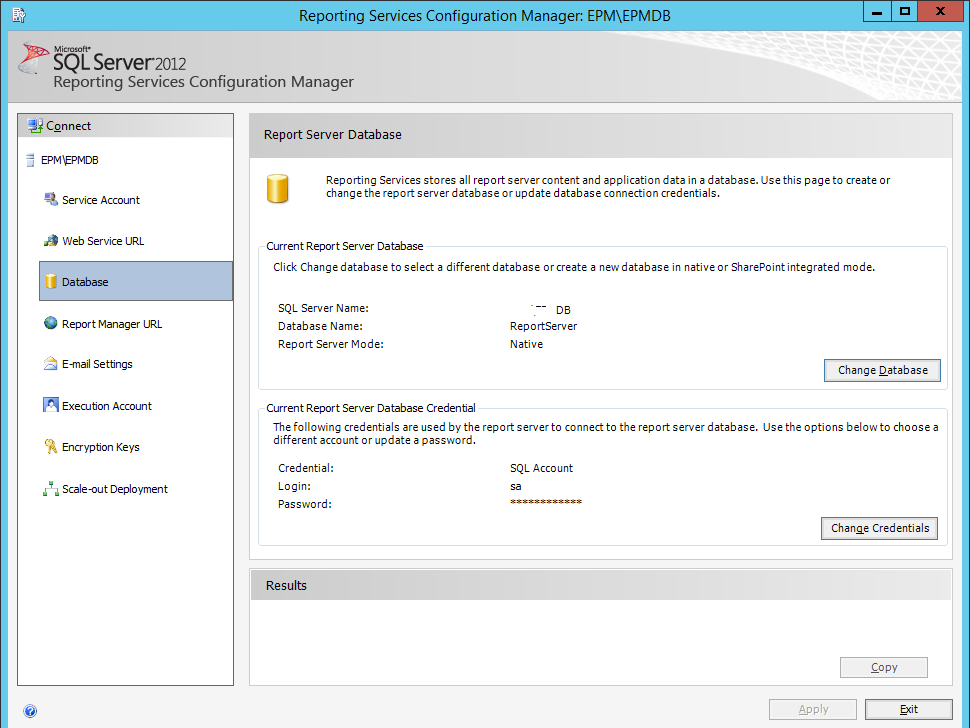
In this article, we will explain how to Scale Out SSRS Deployment (Always-on) in SQL Server 2016 and SQL Server 2012.
You might also like to read how to Install SSRS 2016 step by step
SQL Server 2016: Scale Out SSRS Deployment
I have 2-Tire environment with the below topology:
- 2 Web and APP servers.
- 2 Database Servers (Always-on).

One of the web servers has already SSRS installed but when the load balancer hit the second web node, I got the 404 error when browsing Report Manager URL:
404 file or directory not found.

This error occurs because the SSRS is not installed and configured on the second node, so the directory of reporting service will not be found.
So to fix this issue you should Scale out SSRS deployment to share the same single Report Server Database.
Note: If you need to use Reporting Services with SharePoint. it’s recommended to configure SSRS SharePoint integrated mode with Reporting service application service on an independent reporting server to ensure Performance, Manageability, and Security.
How to Scale Out SSRS to apply High Availability?
Before we getting started to scale out SSRS, In this article, we have considered you already have installed and configured the SSRS in the first node as mentioned at Install and Configure SQL Server Reporting Service (SSRS).
Scale Out SSRS Prerequisites
Beside installing and configuring SSRS on the first node, you also should verify that the report server is operational at the first node by doing the following:
- The Reporting Service is running in SQL Configuration Manager.
- The Report manager URL has been configured and can be browsed.
Steps to Scale Out SSRS
- Now In the Second node, you should fo the following:
- Mount the same SQL Server Media ISO/CD that used before to install SSRS in the first node.
- Run SQL Server Installation file.
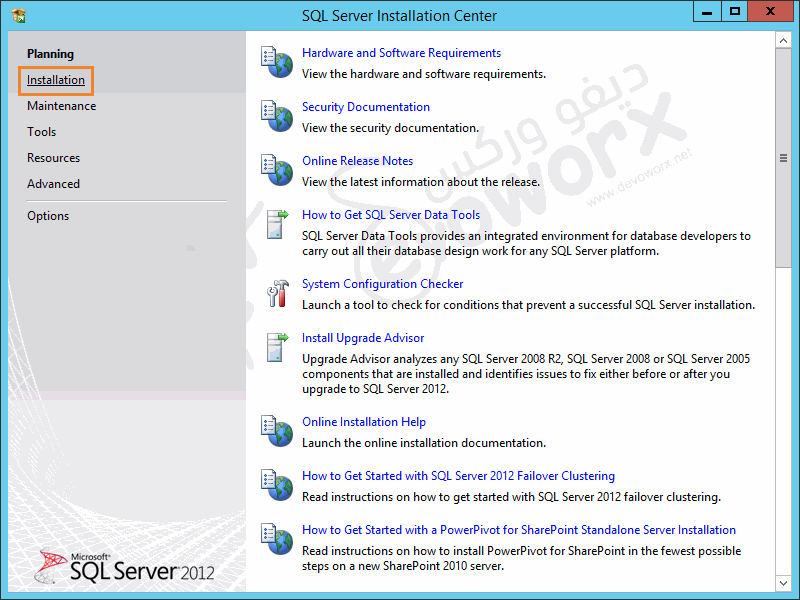
- From SQL Server Installation Center > Click on Installation.
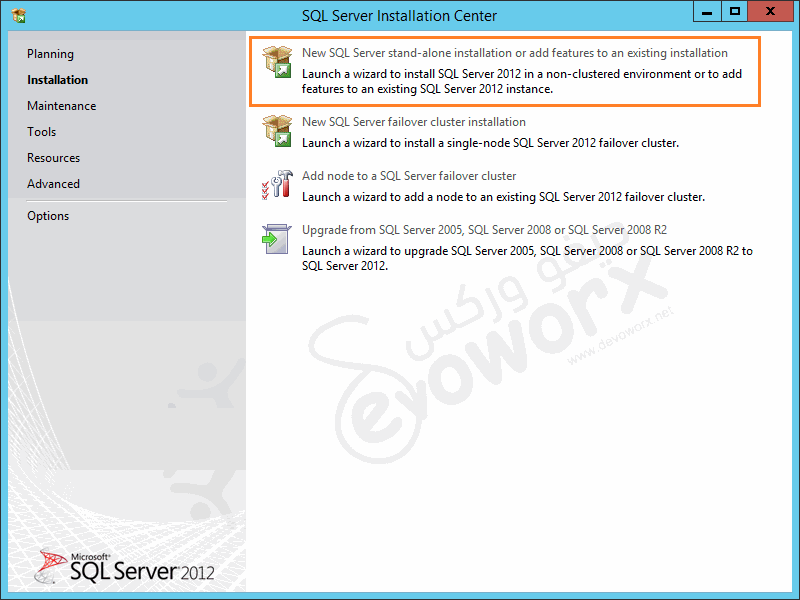
- Click on New SQL Server stand-alone installation or add features to an existing installation.
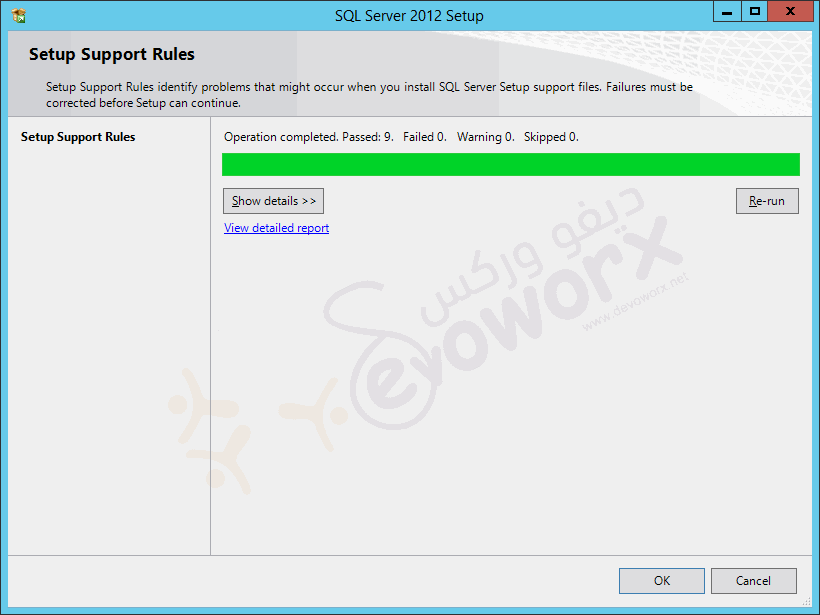
- Click OK after the Setup Support Rules have been passed.
- Check Product Updates and click Next.
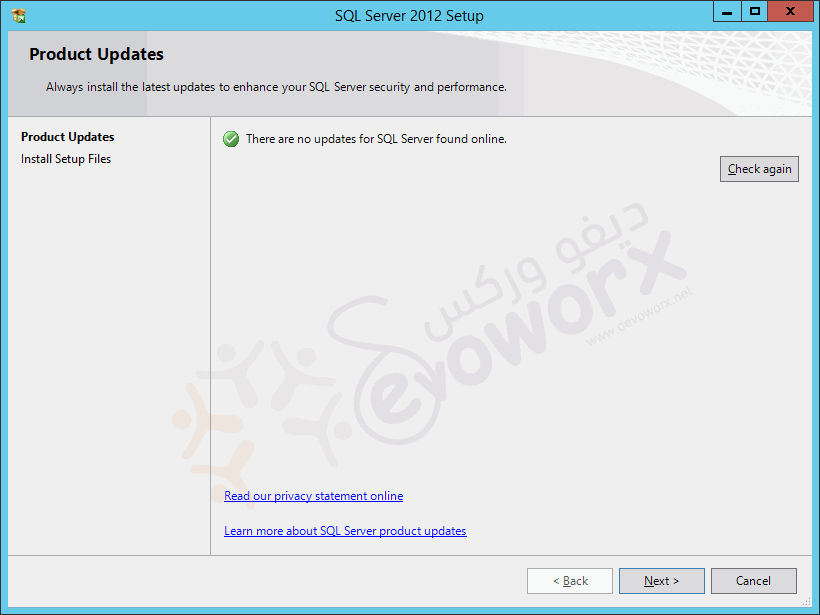
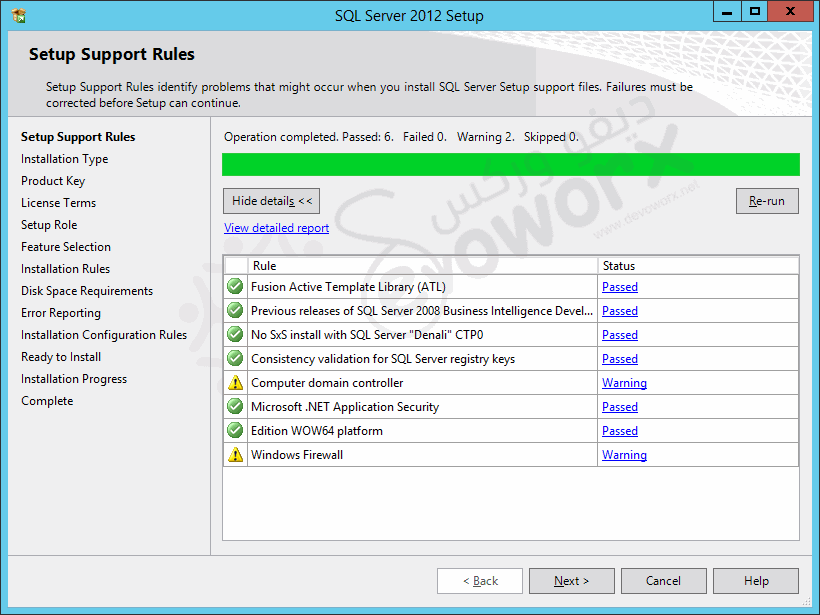
- Again, Check Setup Support Rules and click Next.
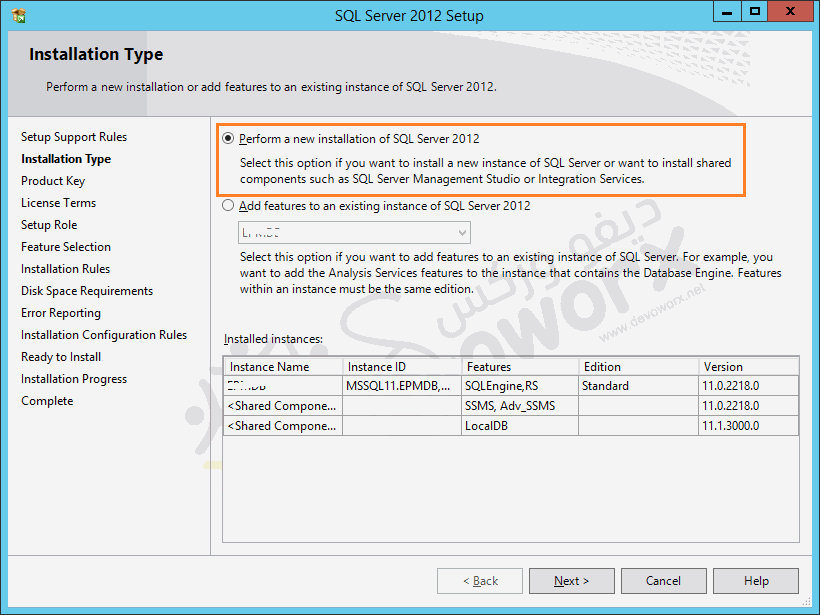
- From Installation Types > Check Perform a new installation.
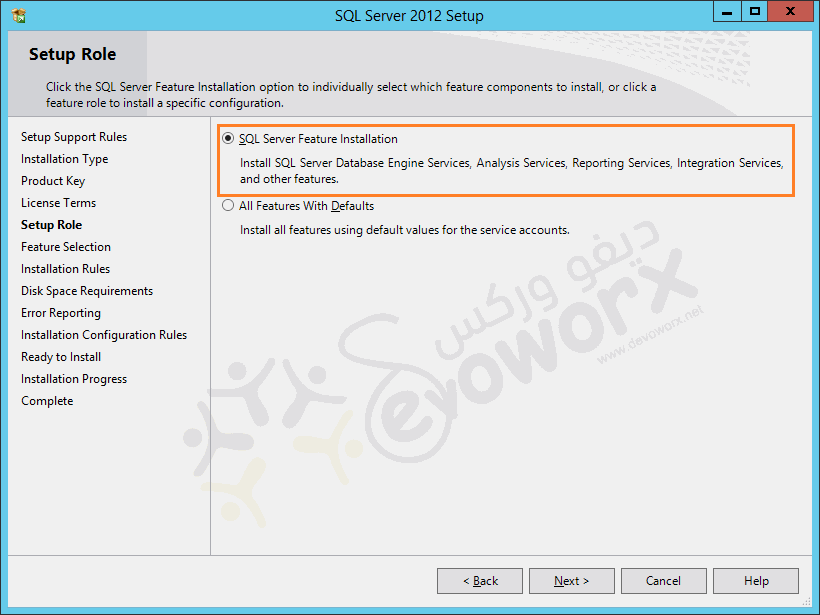
- From Setup Role > Select SQL Server Feature Installation.
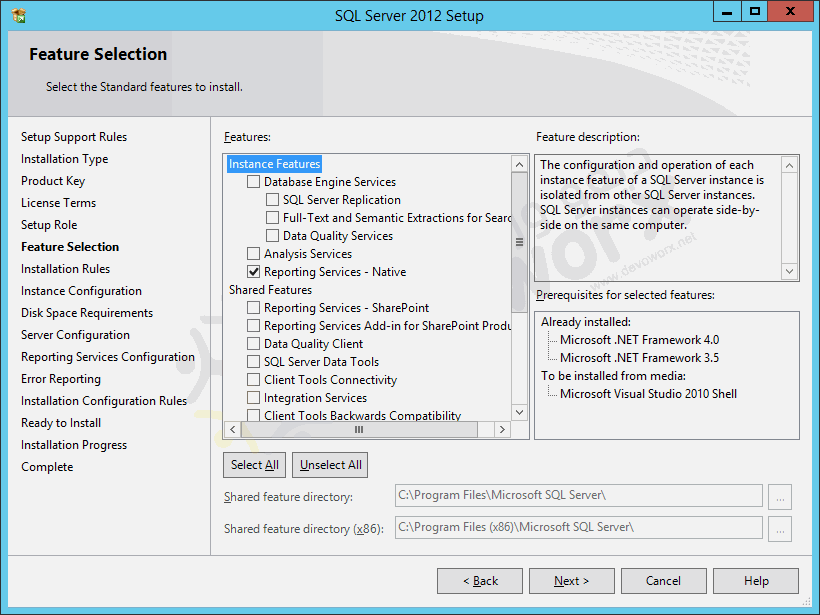
- From Feature Selection > Below Instance Features > Select Reporting Service -Native > Click Next.
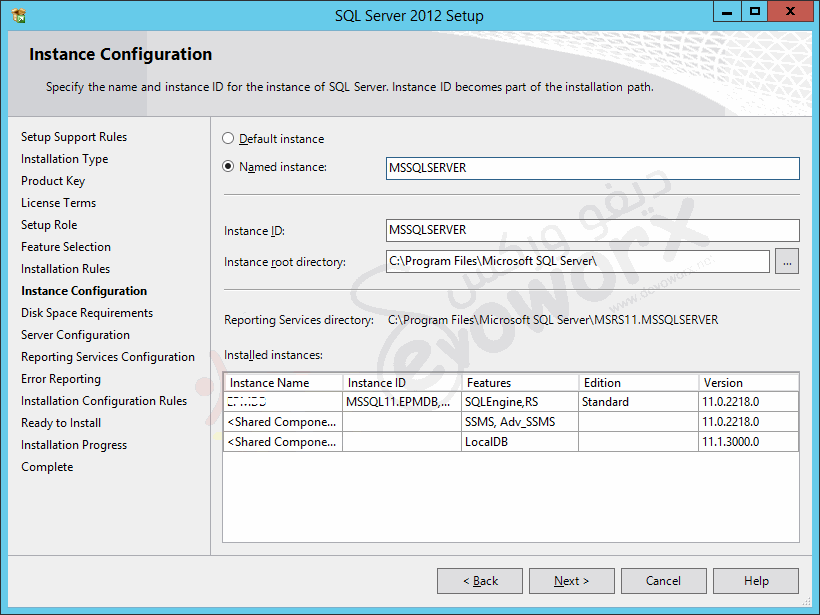
- Configure instance by setting the instance name or leave default.
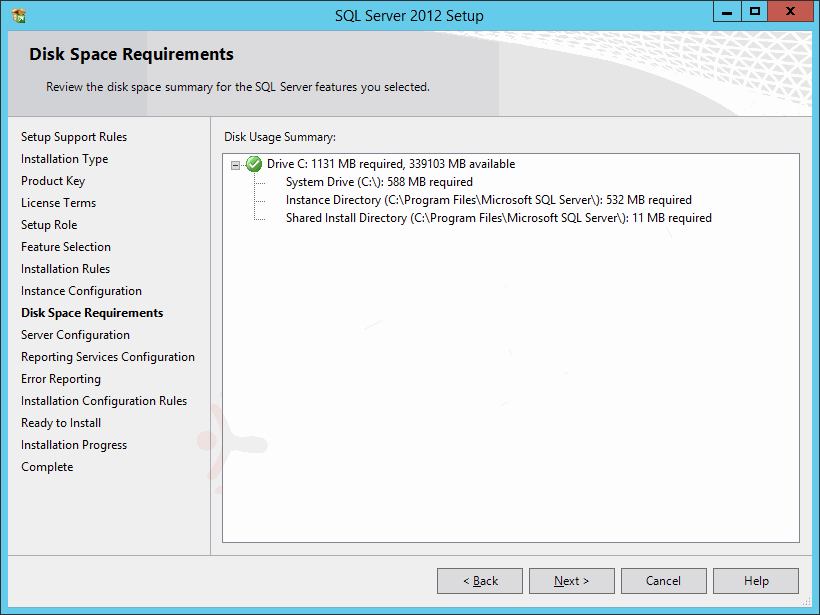
- Check Disk Space Requirement > Next.
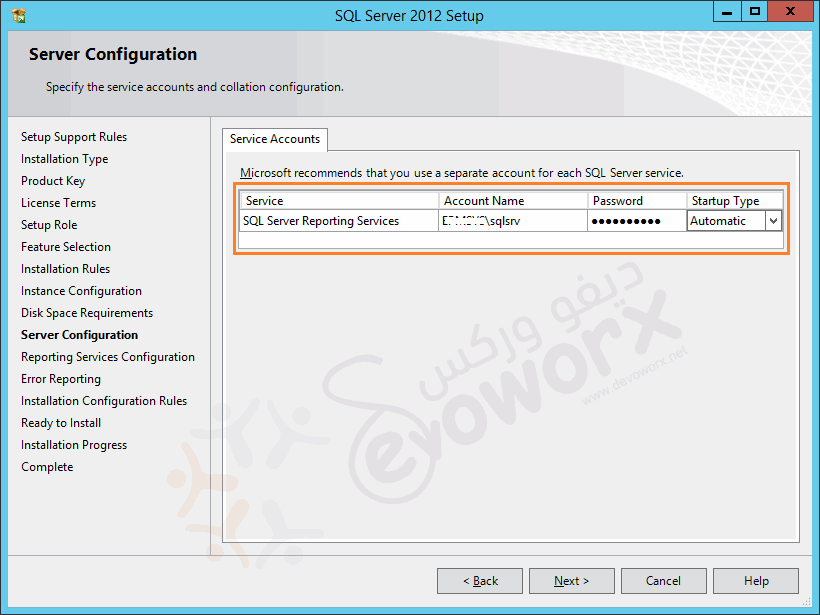
- In Server Configuration > Set SSRS Service Account > Next.
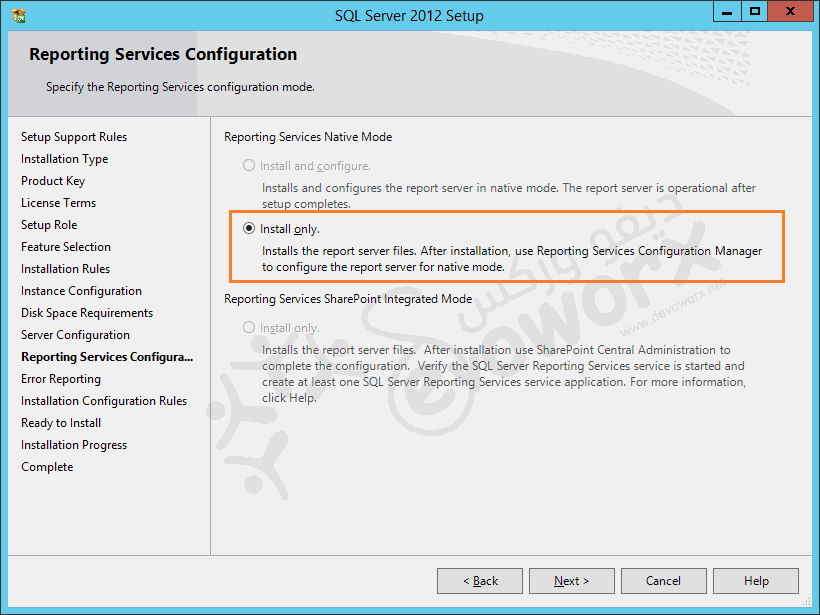
- In Reporting Service Configuration > Check Install only.
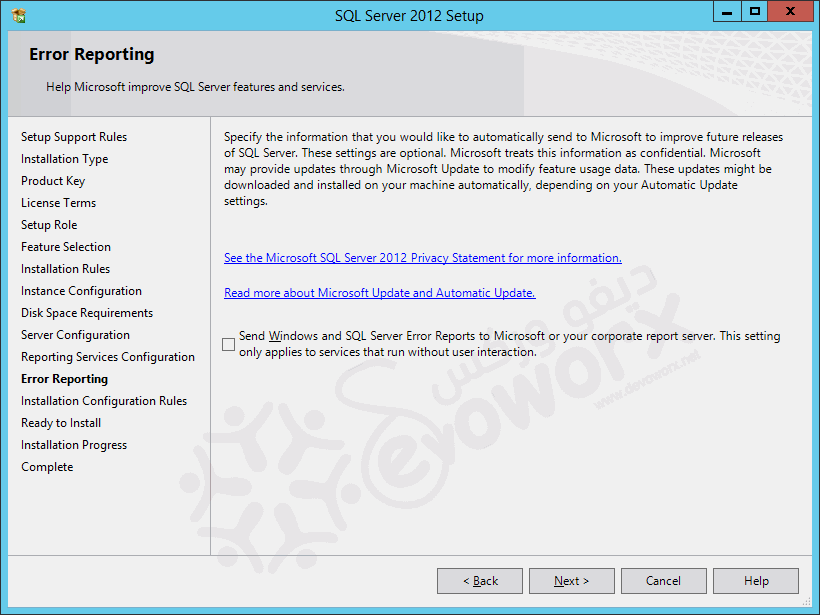
- In Error Reporting > Click Next.
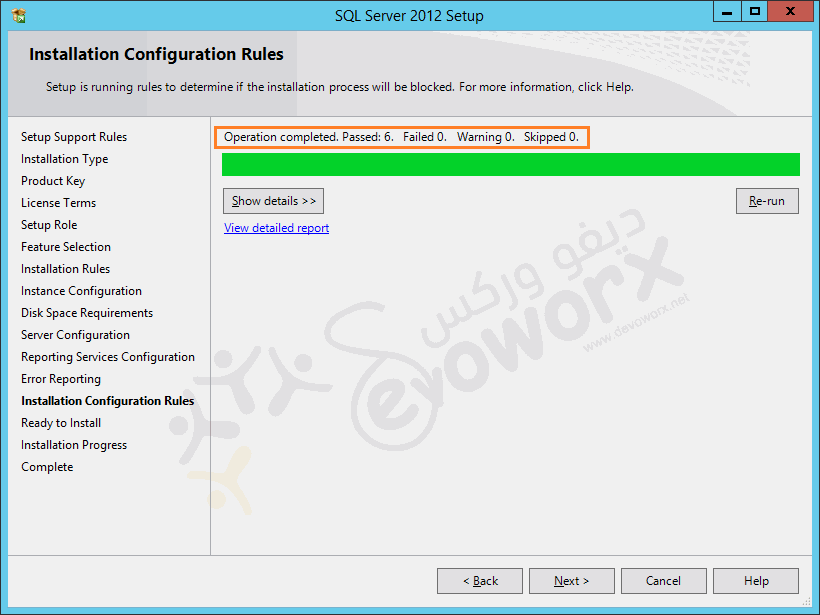
- Once the Installation Configuration Rules have been passed > Click Next.
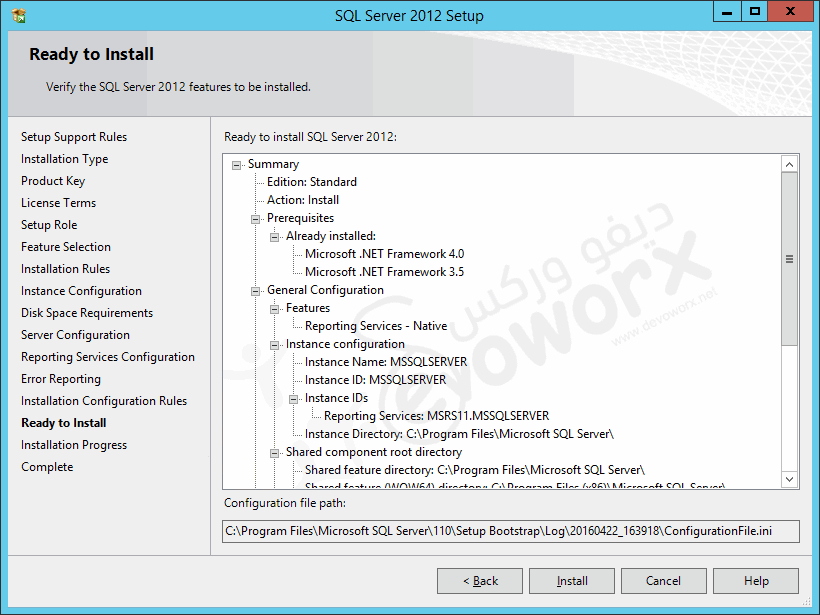
- In Ready to install > Click on Install.
- Complete the installation wizard and click Finish.
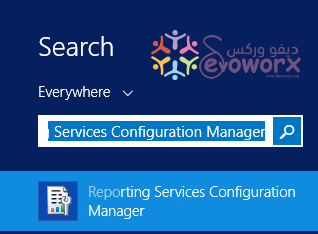
- Open Reporting Service Configuration Manager.
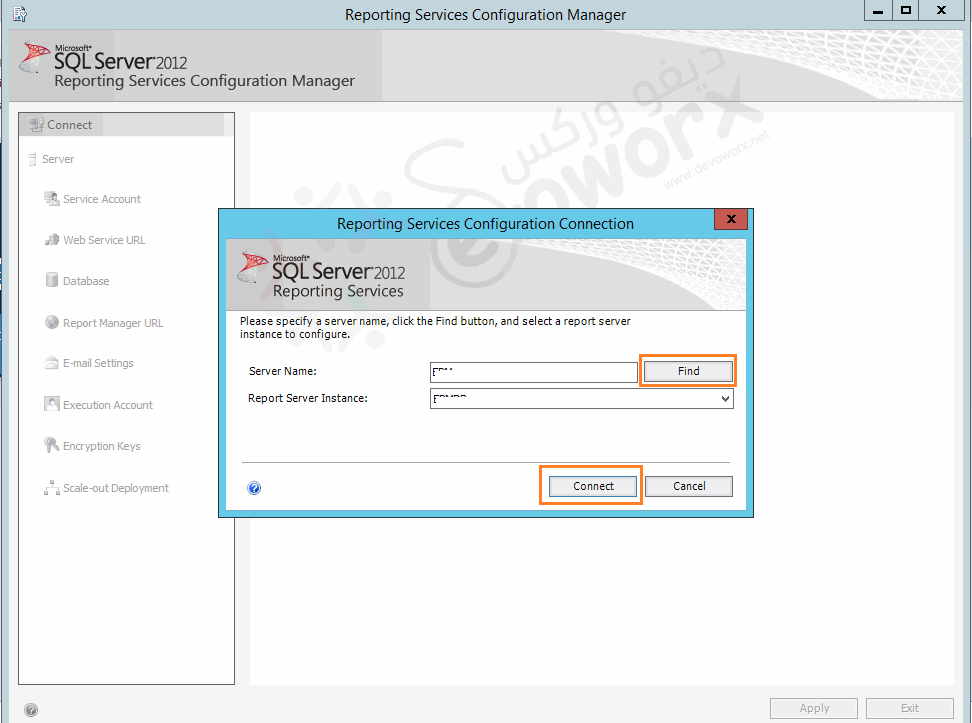
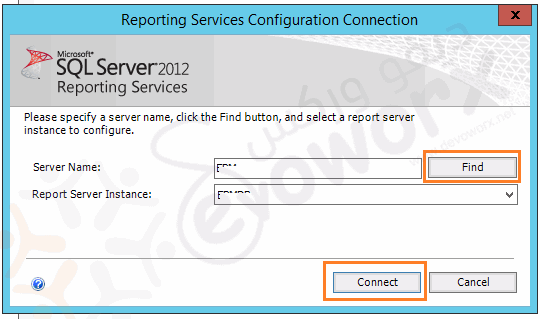
- With the same Server name, Click Find and select the existing instance that has been selected to add SSRS feature > Click on Connect.
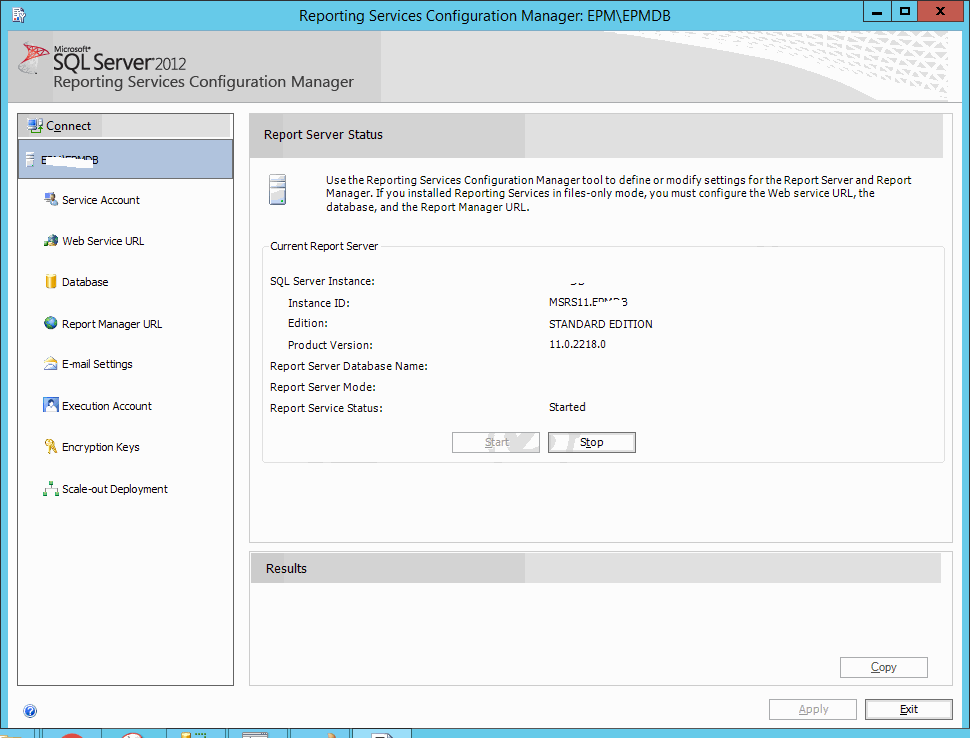
- The Report Server Status should be shown with the current report server status and basic information about report server.
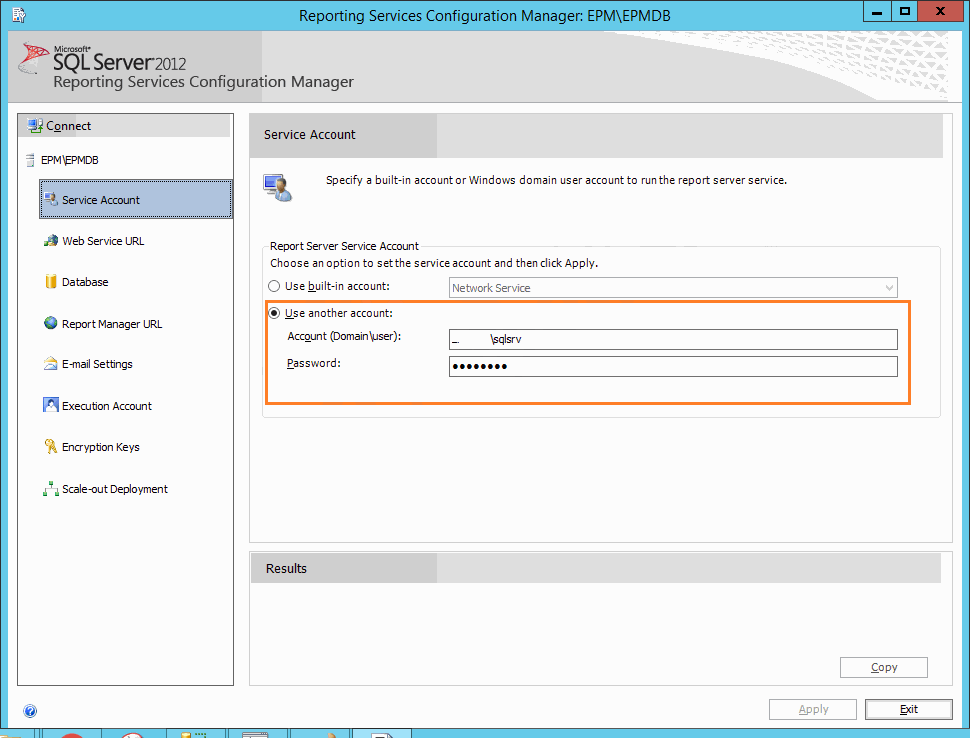
- Go to Service Account section to check the service account that has been set during the installation, you can also change the current service account through this section based on your requirement.
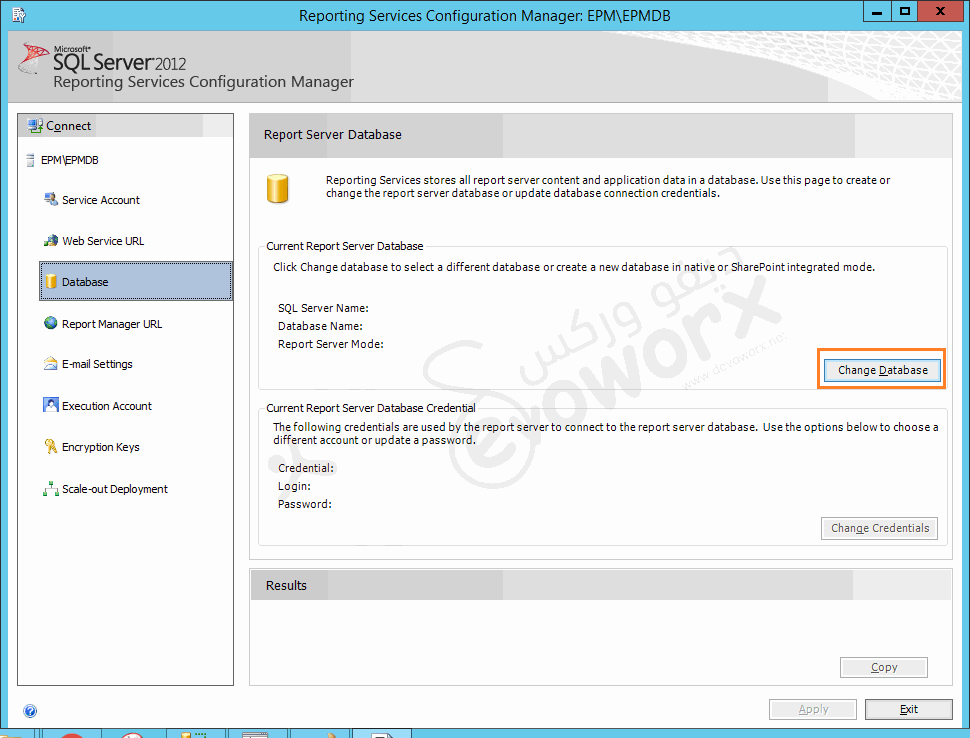
- Before configuring Web Service URL > Go to Database section > Click on Change Database.
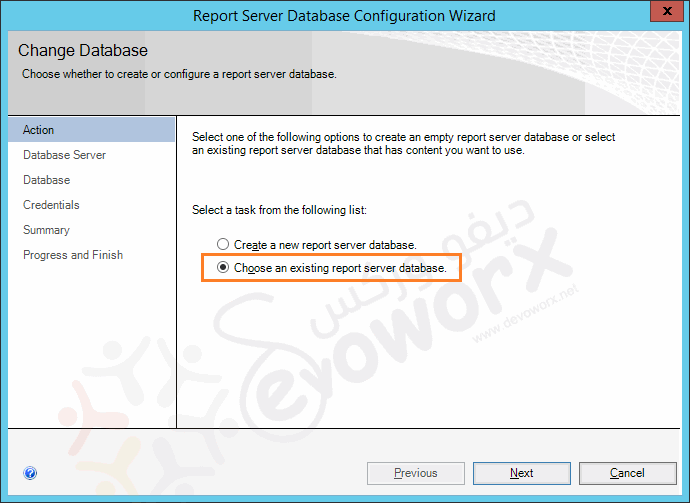
- Follow the Change Database wizard > Check Choose an existing report server database > Next.
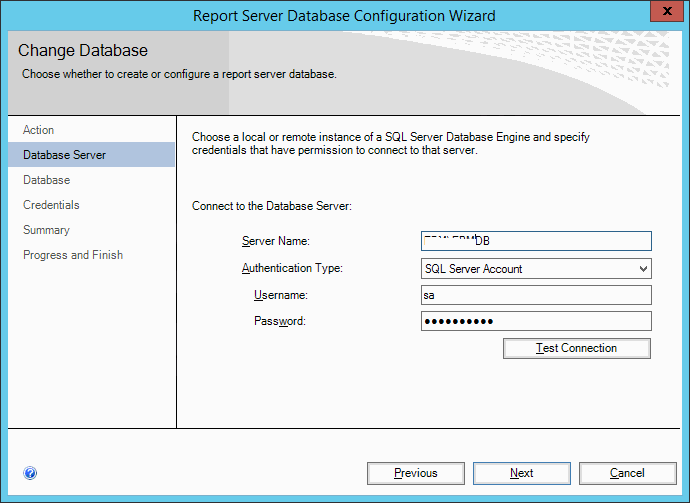
- Type the server name of the SQL Server Database Engine instance that hosts the report server database,
- Select Authentication Type “SQL Server Account”.
- Set the Username and Password for the account that should have permission to connect to SQL Server Database Engine instance that hosts the report server database.
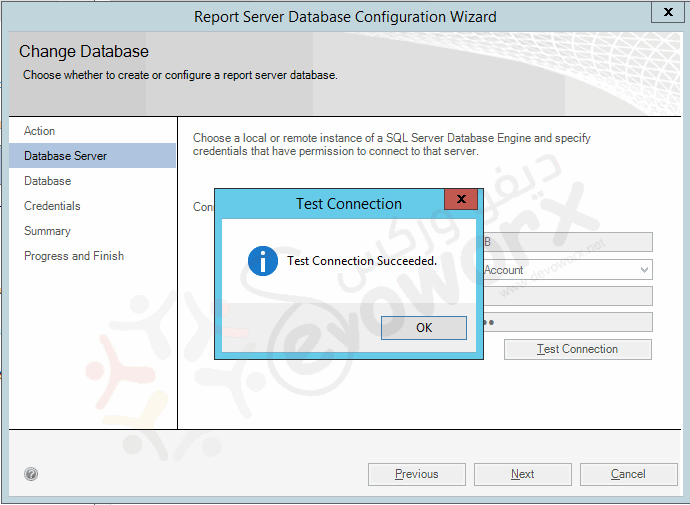
- Click on Test Connection > Next.
- In Report Server Database, type the same database that has created for the first report server, and then click Next.
Note: The default reporting database name is ReportServer, and you should type the sam name of the reporting database on the first server, also do not select ReportServerTempDB, it is used only for storing temporary data when processing reports.
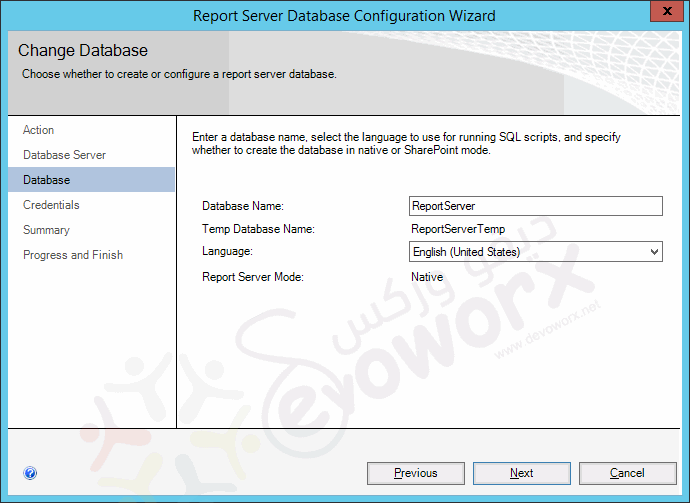
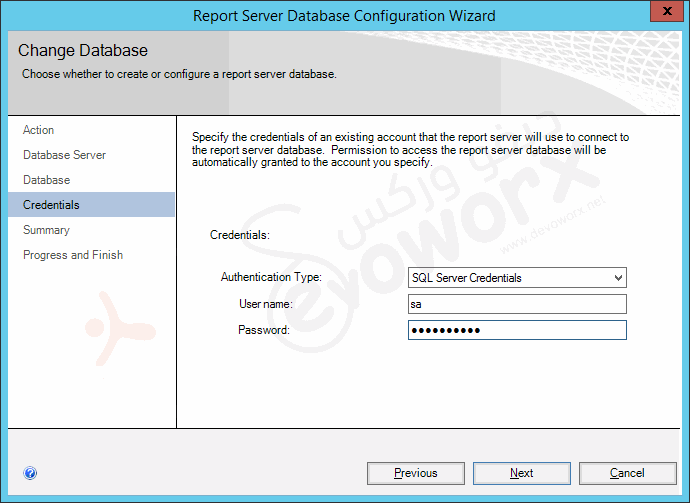
- Again set the credential for the user that should have permission to access the Report Server Database.
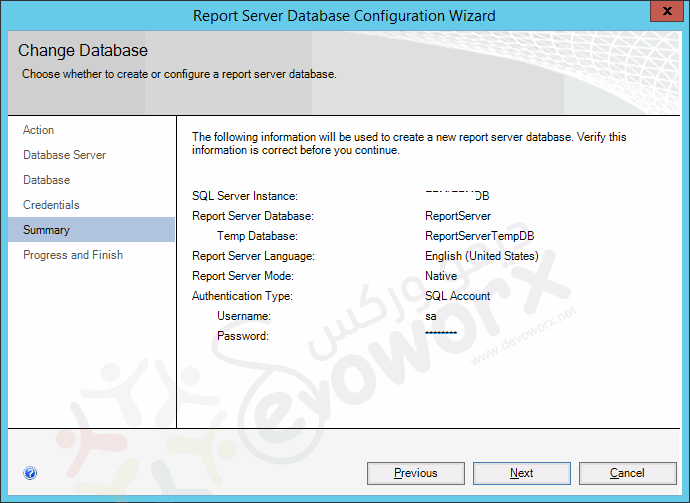
- Review the Summary > Next.
- Wait until the Report Server Database Configuration wizard complete > Click on Finish.
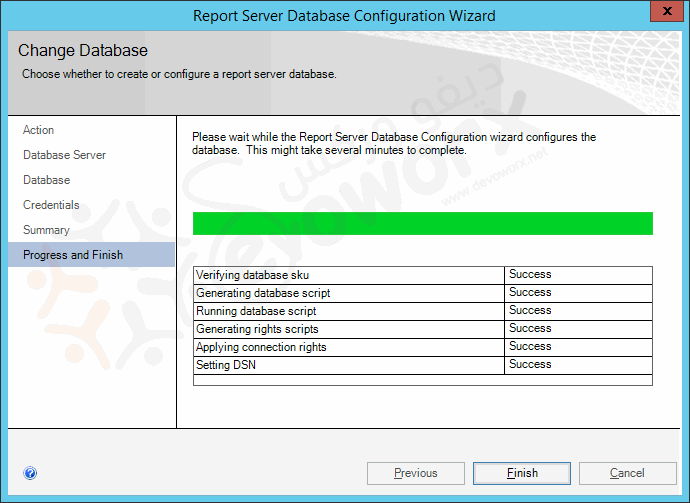
- Now Database section should show the current Report Server Database.
- Configure the Report Server Web service URL.
Do not test the URL yet. It will not resolve until the report server is joined to the scale-out deployment.
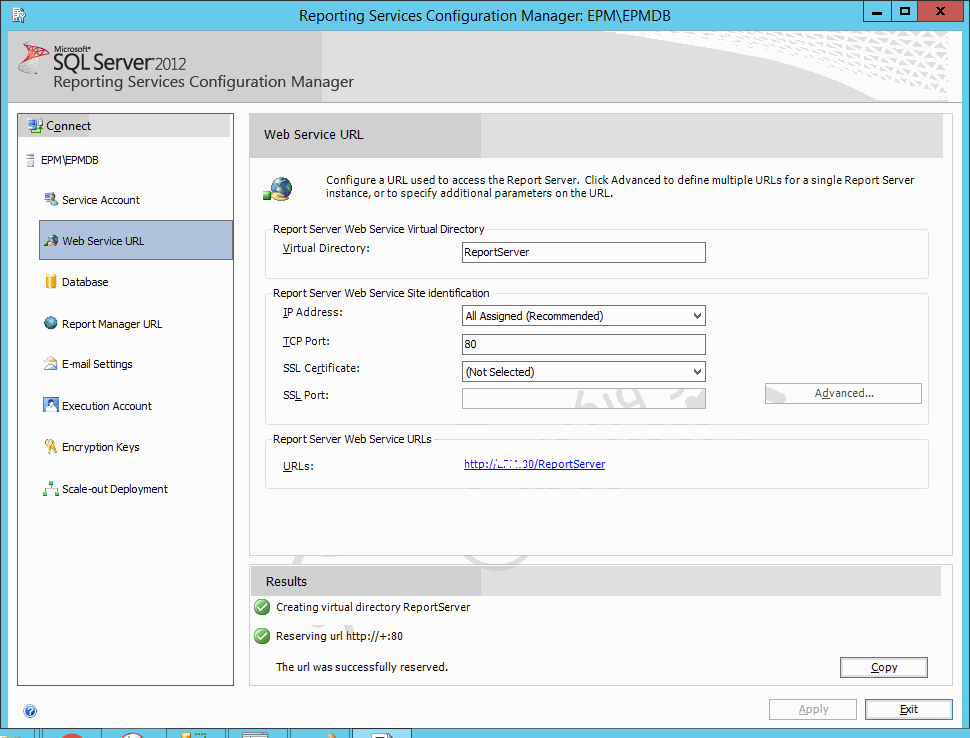
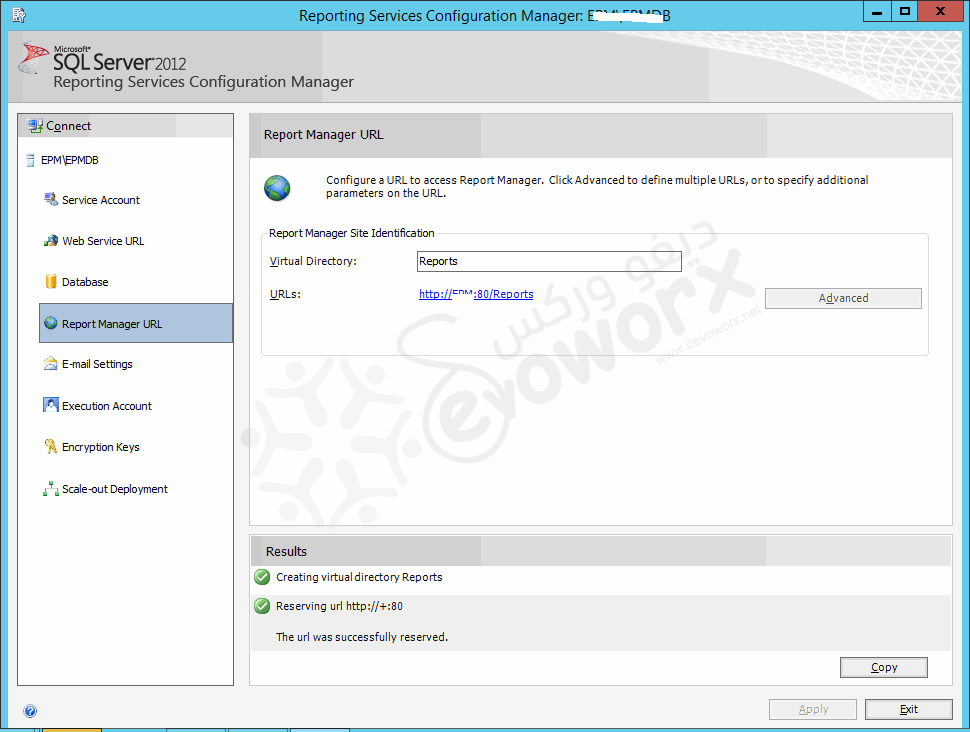
- Configure the Report Manager URL.
Do not test the URL yet or try to verify the deployment. The report server will be unavailable until the report server is joined to the scale-out deployment.
- Join the second report server instance to the scale-out deployment
- Open the Reporting Services Configuration tool,
- and reconnect to the first report server name.
Note: The first report server is already initialized for reversible encryption operations so it can be used to join additional report server instances to the scale-out deployment.
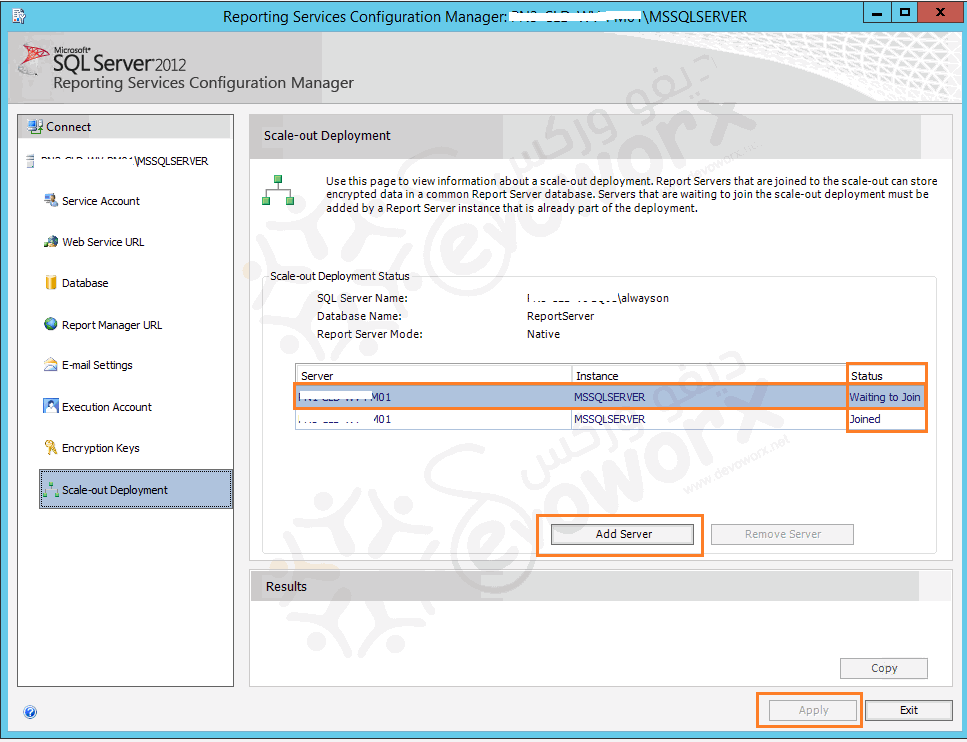
- Click Scale-out Deployment to open the Scale-out Deployment page.
- You should see two entries, one for each report server instance that is connected to the report server database.
- The first report server instance status should be joined.
- The second report server instance status should be “Waiting to join“.
Note: If you do not see similar entries for your deployment, verify you are connected to the first report server that is already configured and initialized to use the report server database.
- On the Scale-out Deployment page, select the report server instance that is waiting to join the deployment, and clicks Add Server.
Scale Out SSRS: Access Denied’
You may experience error messages similar to ‘Access Denied’ when you attempt to join a Reporting Services report server instance to the scale-out deployment, and to solve it you should do the following:
- Back up the Reporting Services encryption key from the first Reporting Services instance.
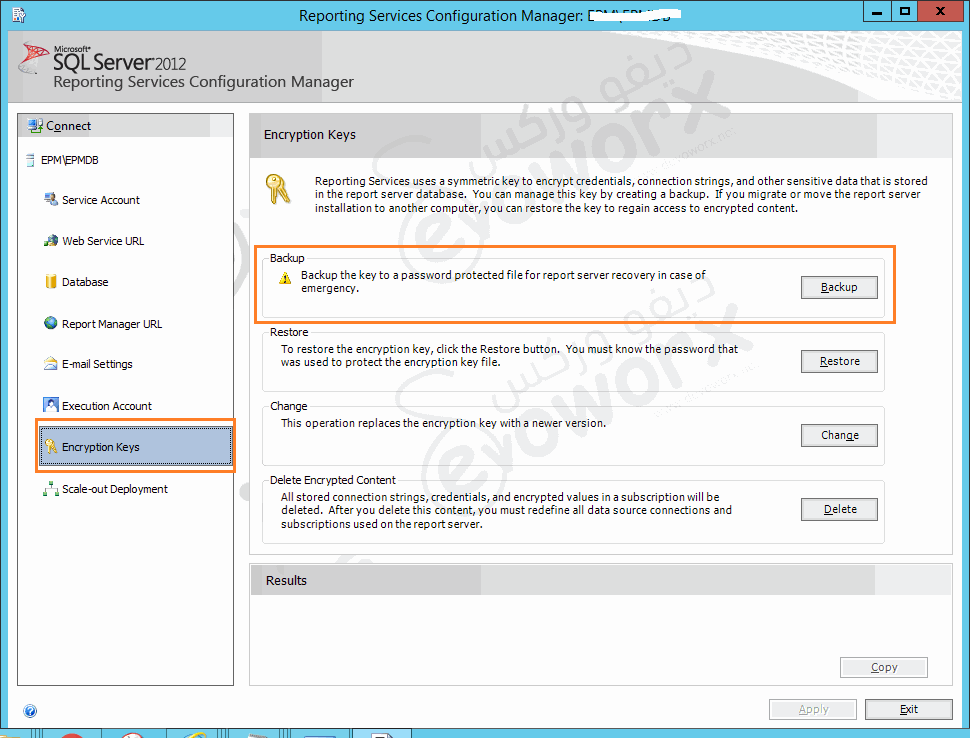
- Restore the key to the second Reporting Services report server.
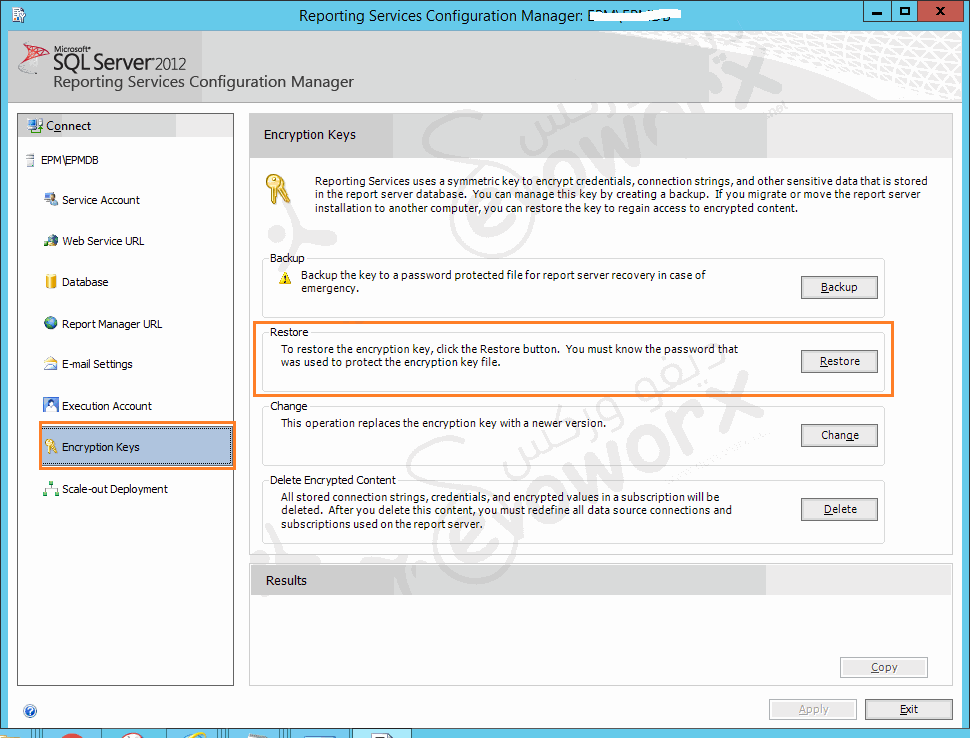
- Then reconnect again to the first report server and try to join the second server to the Reporting Services scale-out deployment.

- You should now be able to verify that both report server instances are operational.
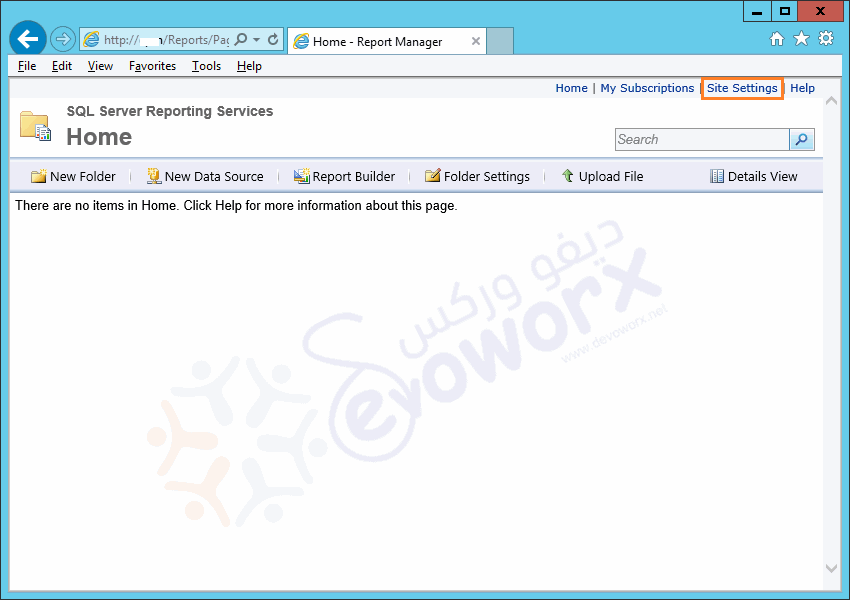
- To verify the second instance, you can use the Reporting Services Configuration tool to connect to the report server and click the Web Service URL or the Report Manager URL.
Applies To
- SQL Server Reporting Service 2016 Native Mode.
- SQL Server Reporting Service 2014 Native Mode.
- SQL Server Reporting Service 2012 Native Mode.

